Updated Summer 2020
Crescent Island is a small island with a fragile ecosystem. We welcome groups of no more than 6 people and no more than 4 cars.
1.) Fuel for Boats
2.) How to Start an engine
3.) Important Things to Bring in The Boat
3.5) Things to know about The Buzz NEW!
4.) How to Light the Refrigerator
5.) How to Light the Propane Lamps
6.) The Joy of the Envirolet
6.5) The Bliss of the Biolet
7.) How to Light/ Turn Off the Cooking Stove/ Oven
8.) How to Light the Propane Heater
9) How to Run the Generator NEW!
10) Sheets, Towels, Food and other perishables
11.) The Gray Dump and Recycling
12.) General Rules while on the island (aka Do’s and Dont’s)
13) Steps for mid season closing (or whenever there is gap of more than one day between visitors) NEW!!
Please use premium gas and refresh the supply of gas as often as possible. (It is better to buy less gas more often than large amounts that sit around and allow the ethanol to separate out)
For gas that has been sitting for a while it is best to add Sta-Bil or SeaFoam additives help with the water separation that occurs over time. These should be in the boathouse and in the toolshed.
The aluminum boat takes mixed gas: a mixture of 50:1 (gas:oil). This calculation tool can help. We also have a measuring device in the boathouse which marks out the proportions.
The oil that is used for both of the boats is for 2 stroke marine engines. Do not use automobile engine oil in the boats. (thanks Nancy for helping clear this up!)
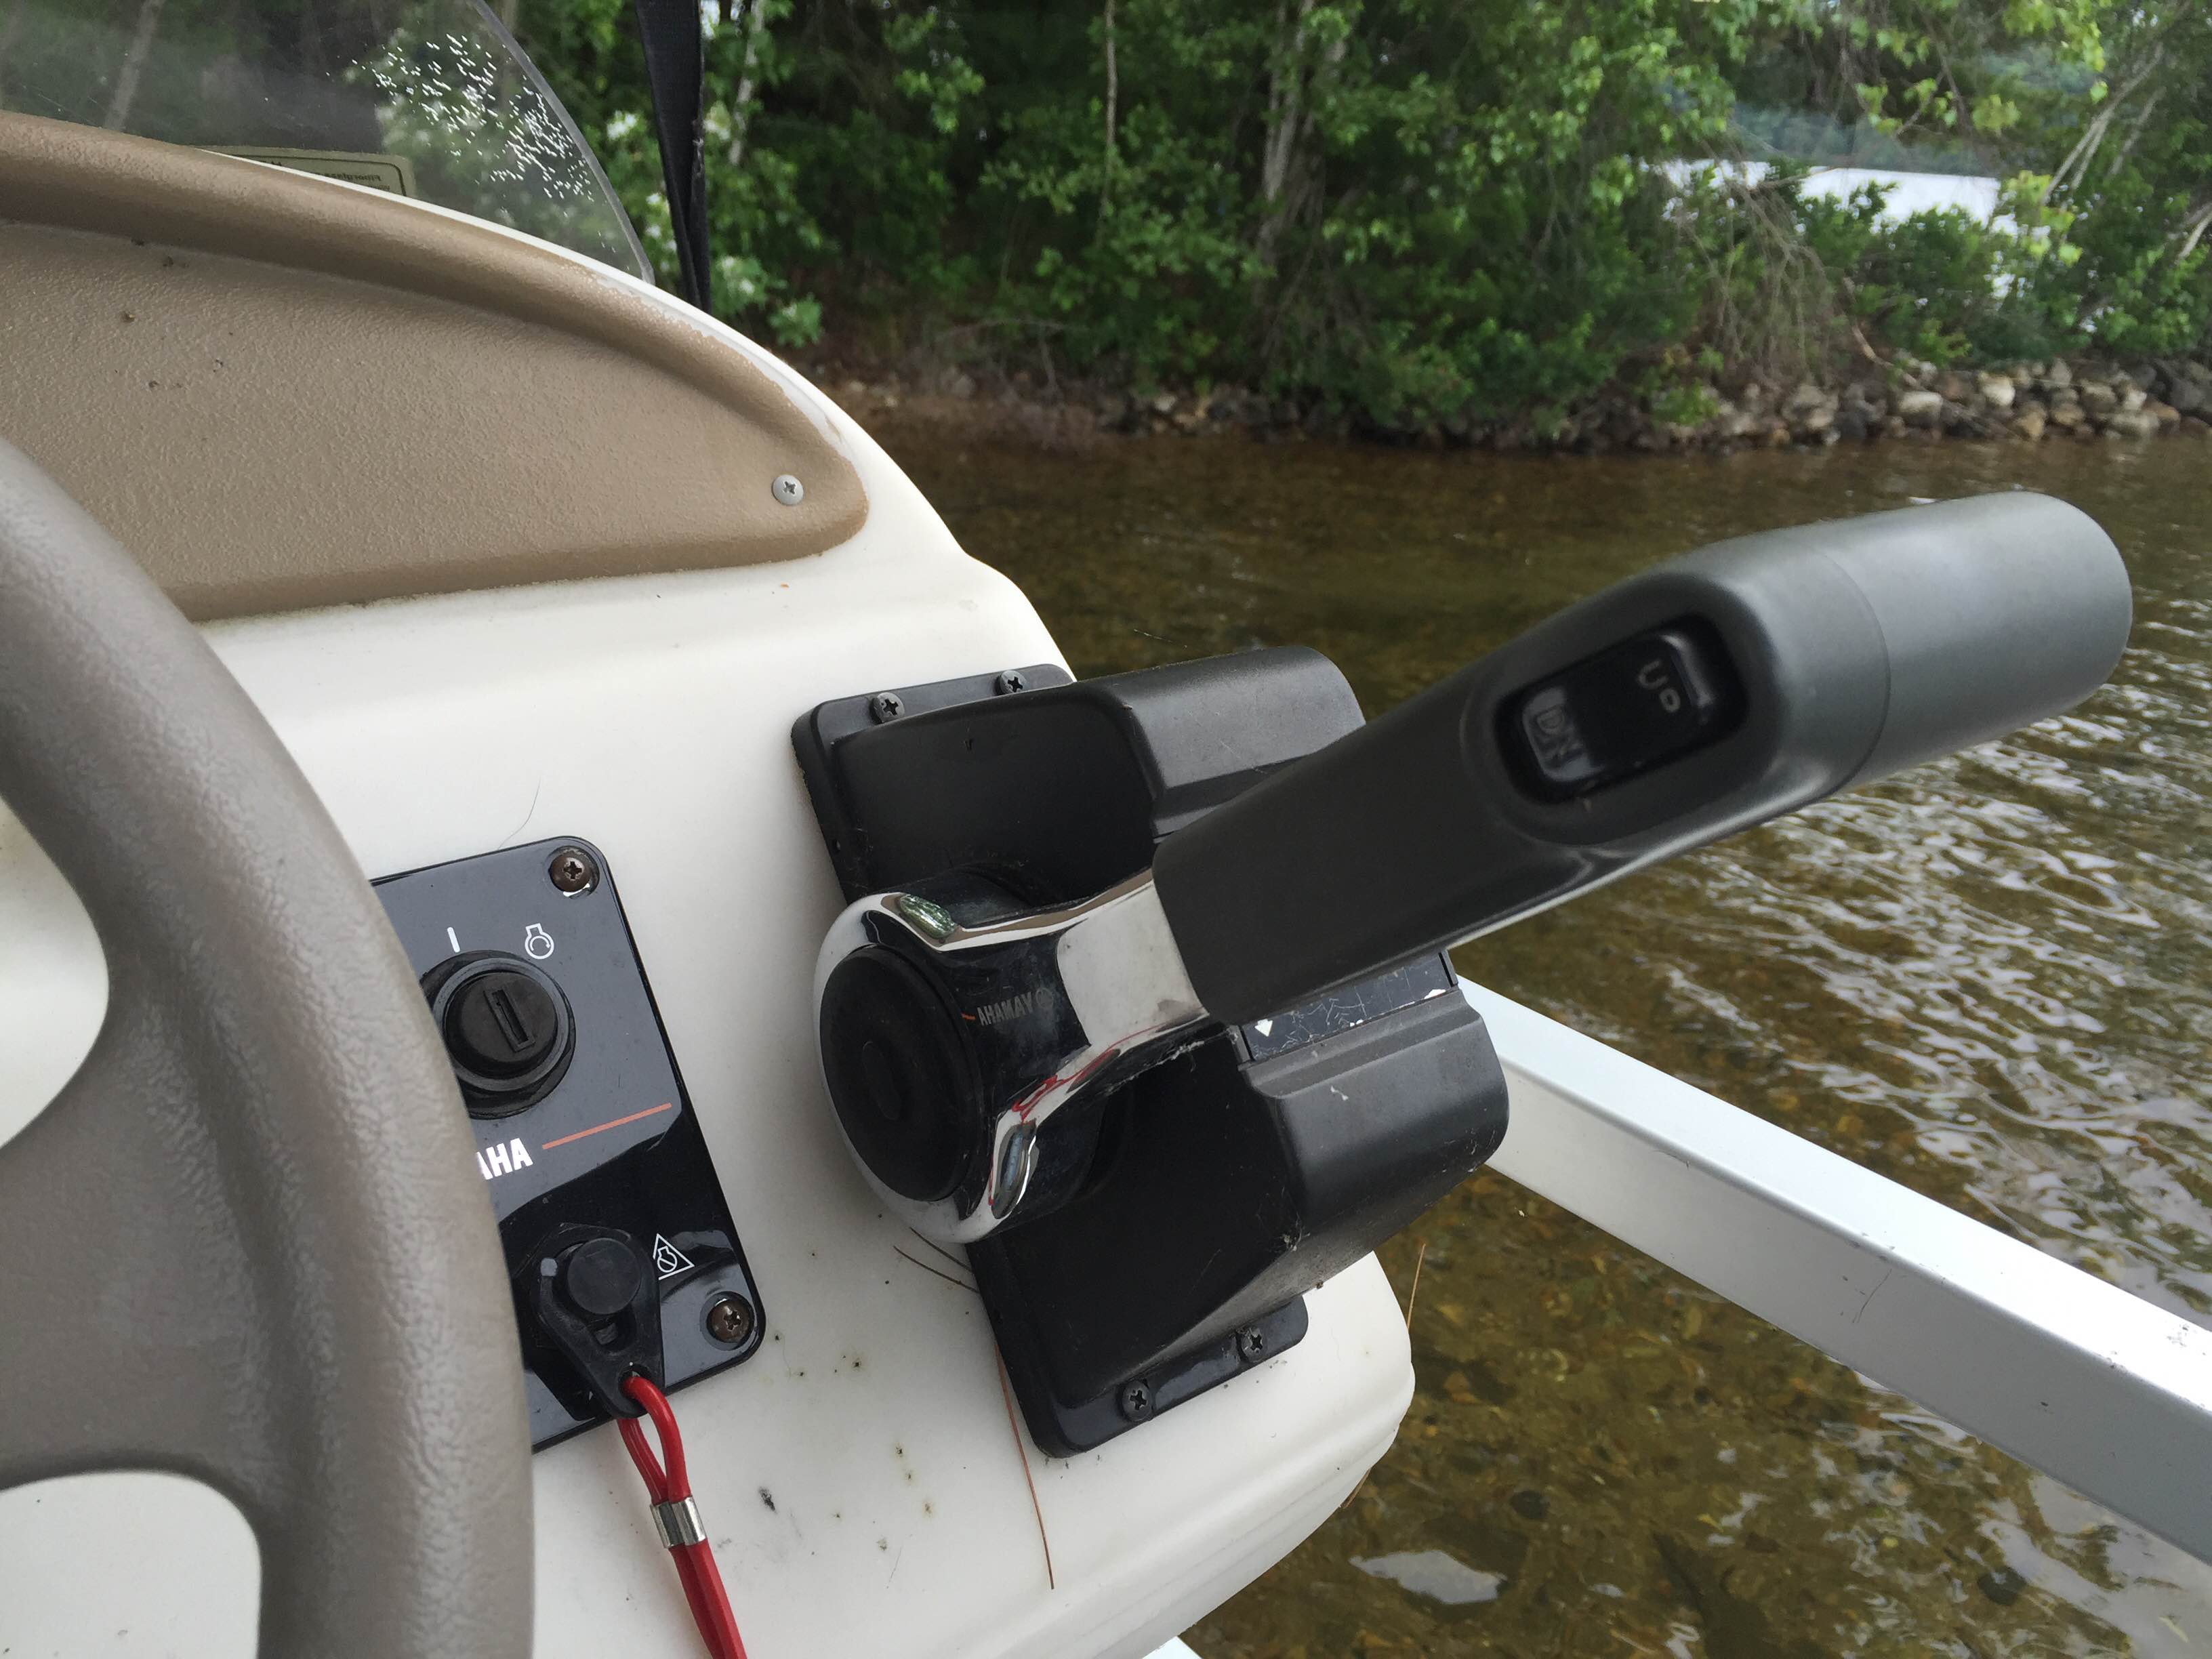
The Buzz takes plain gas (UNMIXED) but the oil is injected into the engine through a handy well. (see picture below)
It is recommended that after every 2-3 hours of heavy use you add some oil here. The engine will make a sound (that is not nice) when it is running low. Please always travel with spare oil in the well where the gas is held.
A copy of the manual for The Buzz (the Sweetwater pontoon boat manual) as well as the Yamaha engine is with the owners manuals in the house. An extra engine manual is under the steering console of the boat.
The Buzz’ engine and the place to put the oil
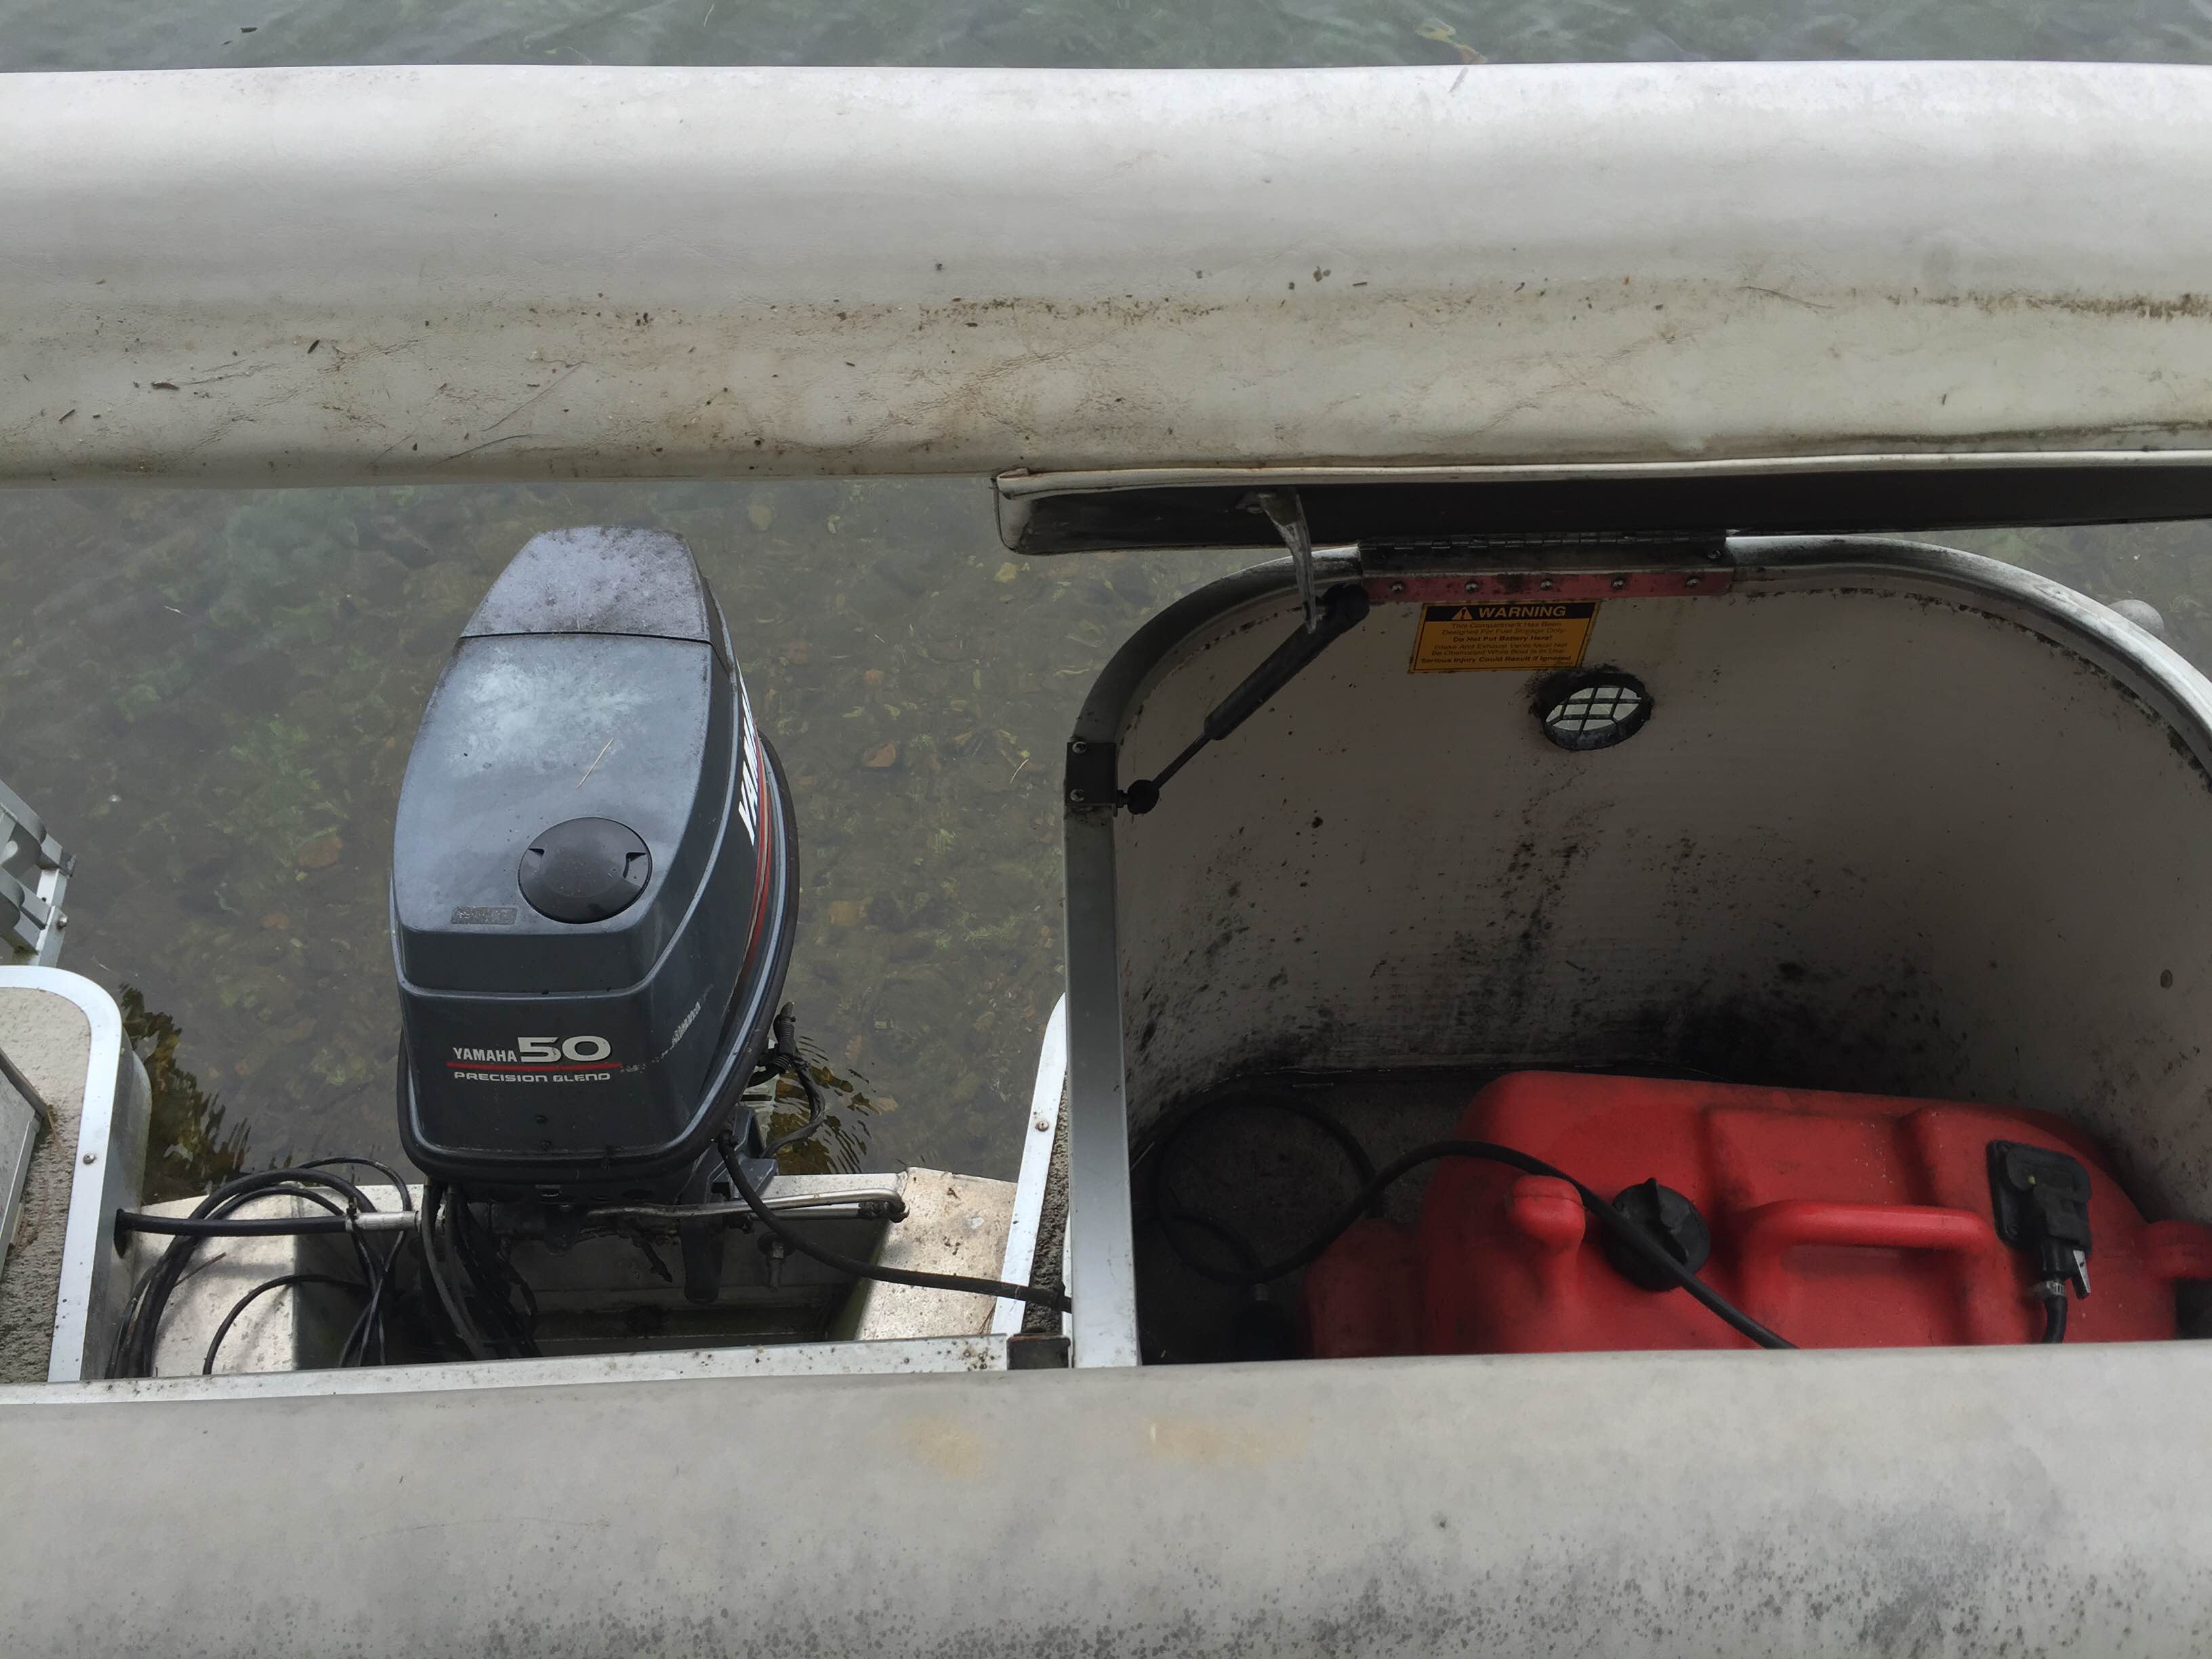
There are TWO tanks of unmixed gas underneath the “sundeck” in the stern of The Buzz
For the aluminum boat: Get the gas tank from the boathouse (w/hose), attach it to the engine. Squeeze the bulb once connected. Turn the dial on the handle to the start position. (approx 2 o’clock). Put the engine in neutral (use the lever on the left side of the engine and find the middle position. Pull out the choke. Pull the engine cord. Once the engine engages, push the choke tab in. Give it more gas (turn the handle away from you) as needed. Return to idle (2 o’clock) when changing into reverse or forward)
To stop the engine, press the red “kill” button.
For The Buzz: This should be as easy as turn the key and go, but sometimes The Buzz needs a little encouragement. Make sure the engine is lowered (there is a level on the gear shifter) but not stuck in the mud. Squeeze the bulb on the gas line. Put the shifter into neutral and turn the key. It may take a few times to catch, but not nearly as many as the Herbie (rest his soul)
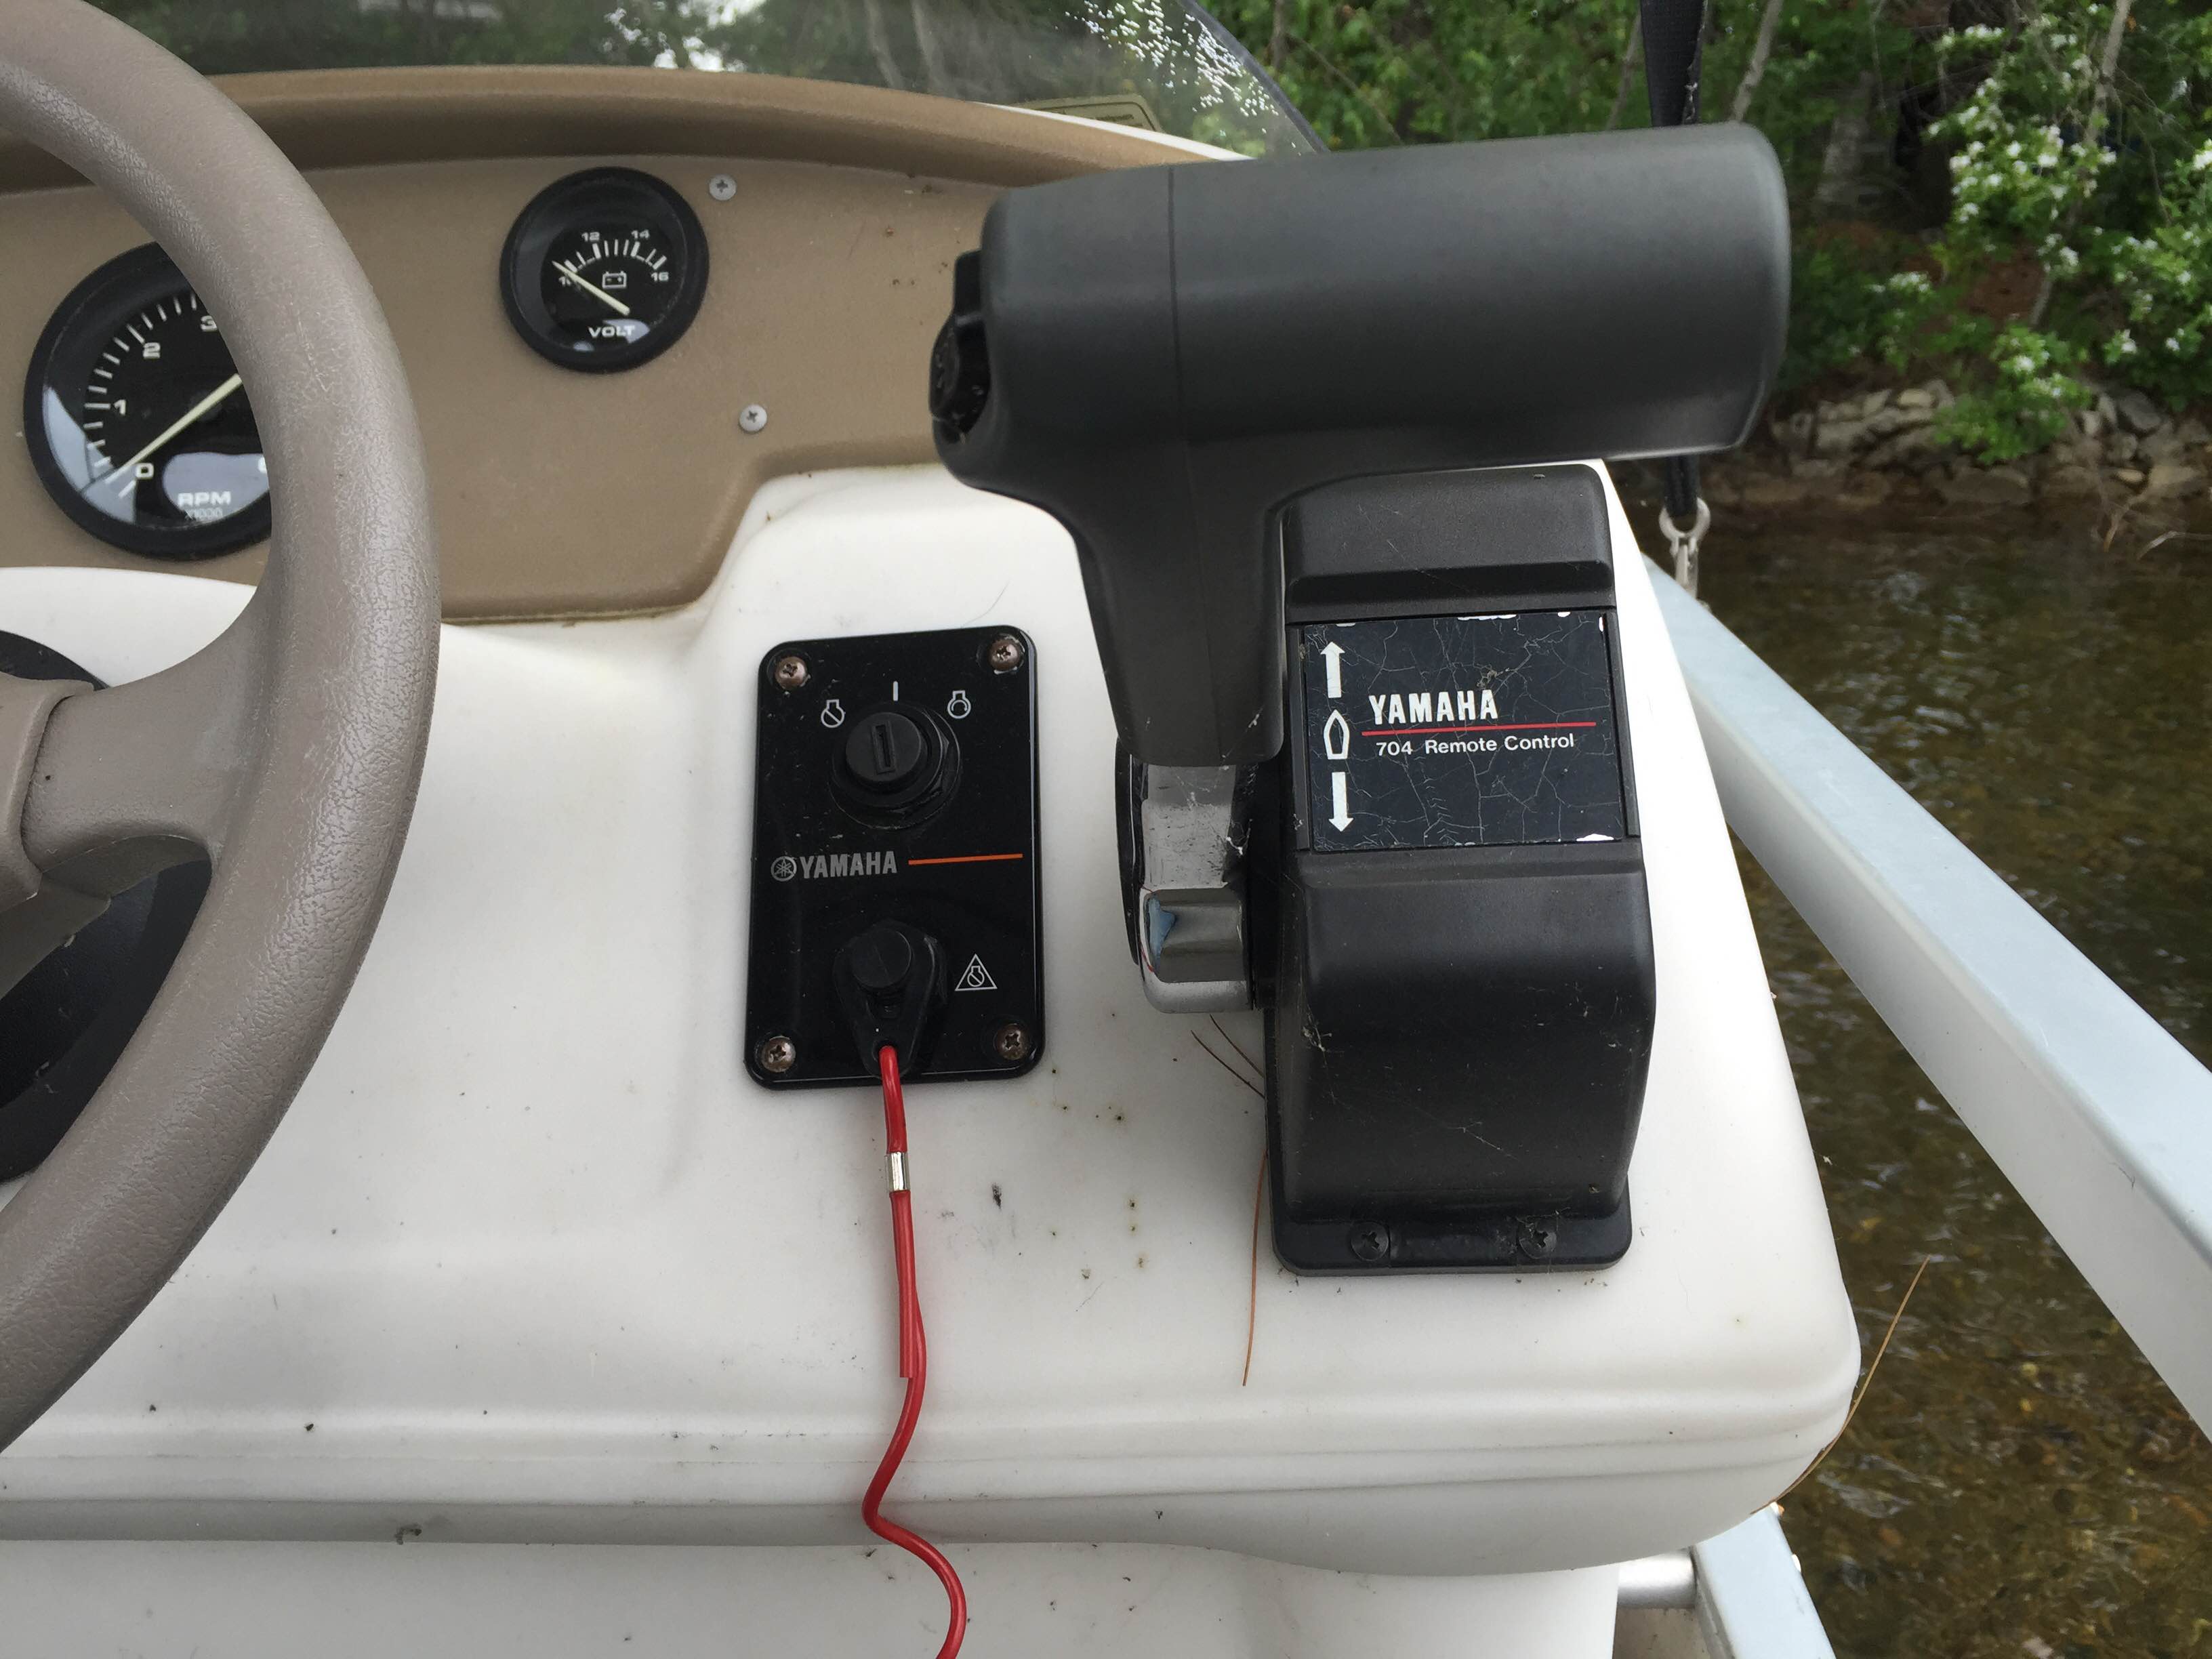
To stop the engine, turn the key to off.
3. IMPORTANT THINGS TO BRING IN THE BOAT:
*The yellow lifejacket bag for the aluminum boat (note: The Buzz has several stored under one of the benches)
*The license/registration: for the aluminum boat please keep blue plastic tool box in the boat when in use. Please remove from the boat when not in use. For the Buzz the registration is inside the door to side of the captain’s console.
*Wooden Oars in the aluminum boat (make sure the oarlocks are in the tool kit) The Buzz has an emergency paddle under one of the seats.
*If traveling at night, you MUST use lights. The Buzz has bow/stern lights built in. To control them you flip the far left button on the console. ( NOTE: Summer 2020 we have moved to LED lights because the Buzz’ electrical system is misbehaving)
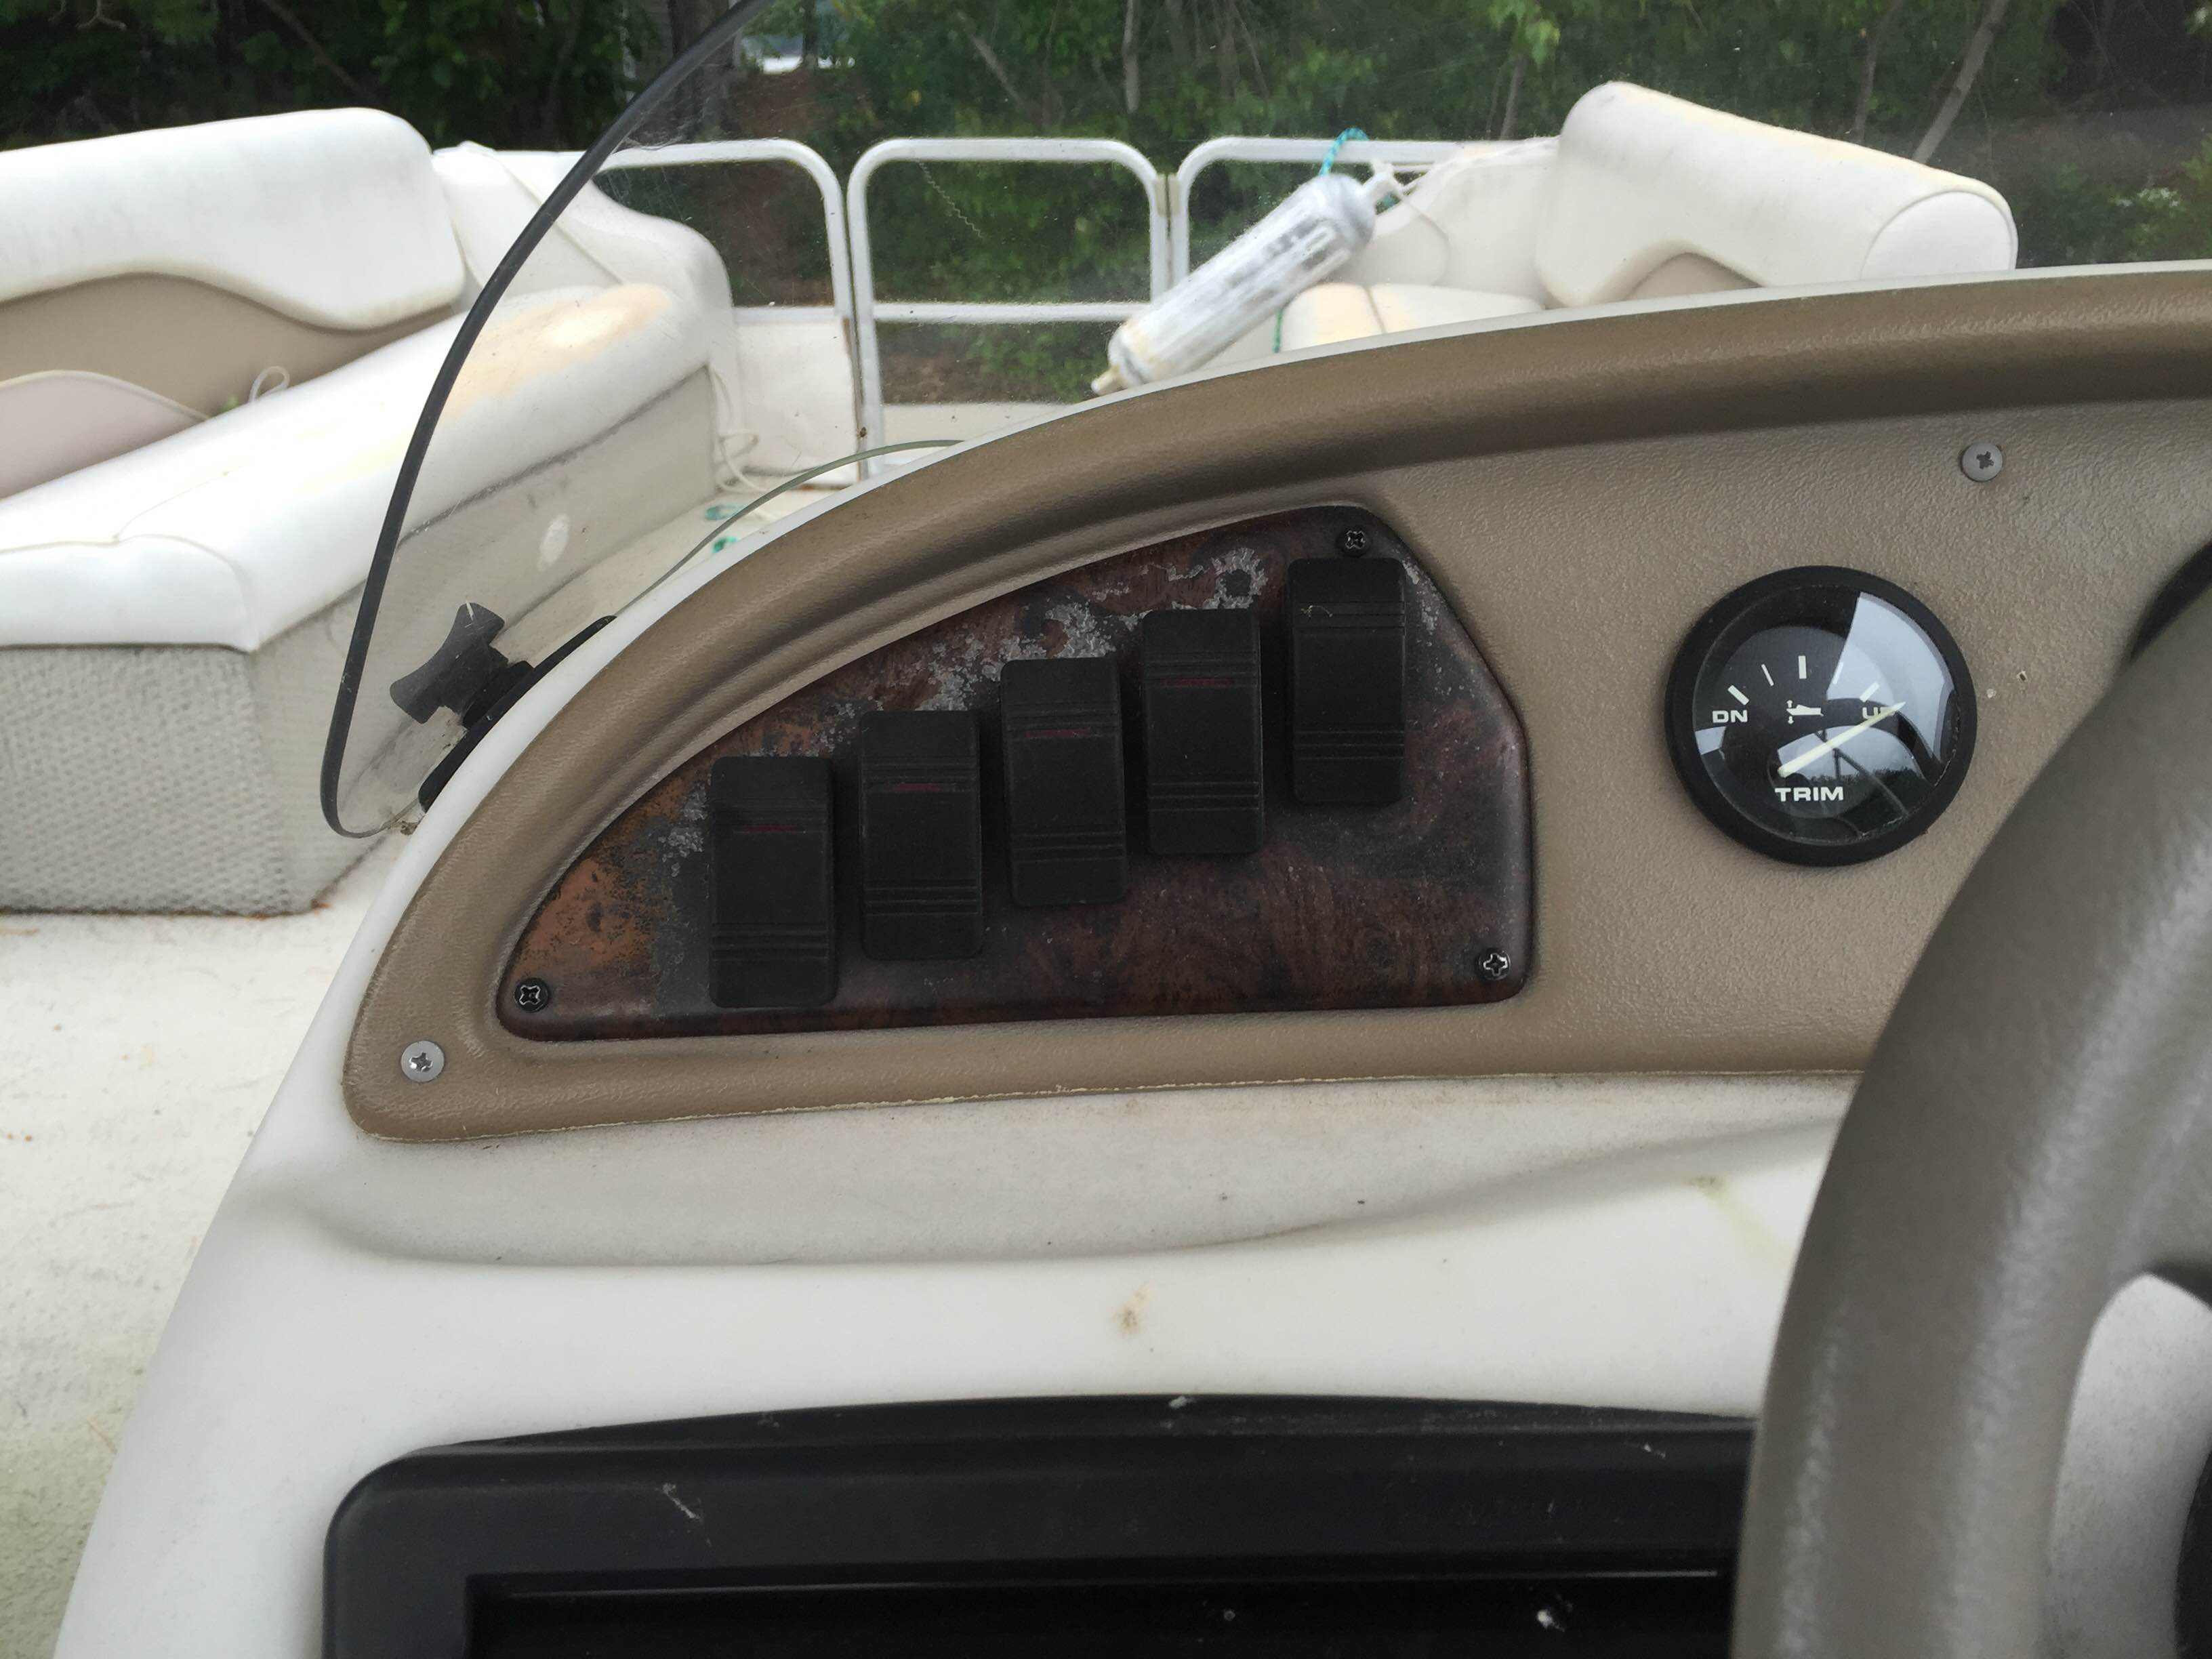
The far left is for the lights. The far right switch is for the horn.The other switches don’t do anything.
You will need flashlights for the aluminum boat: preferably with one person in the bow and another in the stern, both with lights. Or just don’t take it out at night. Simple.
3.5. THINGS TO KNOW ABOUT THE BUZZ: (UPDATED 2020)
Thanks to the glories of Craig’s List we found a pontoon boat for sale on the lake and bought it. We have named it The Buzz in honor of my dad.
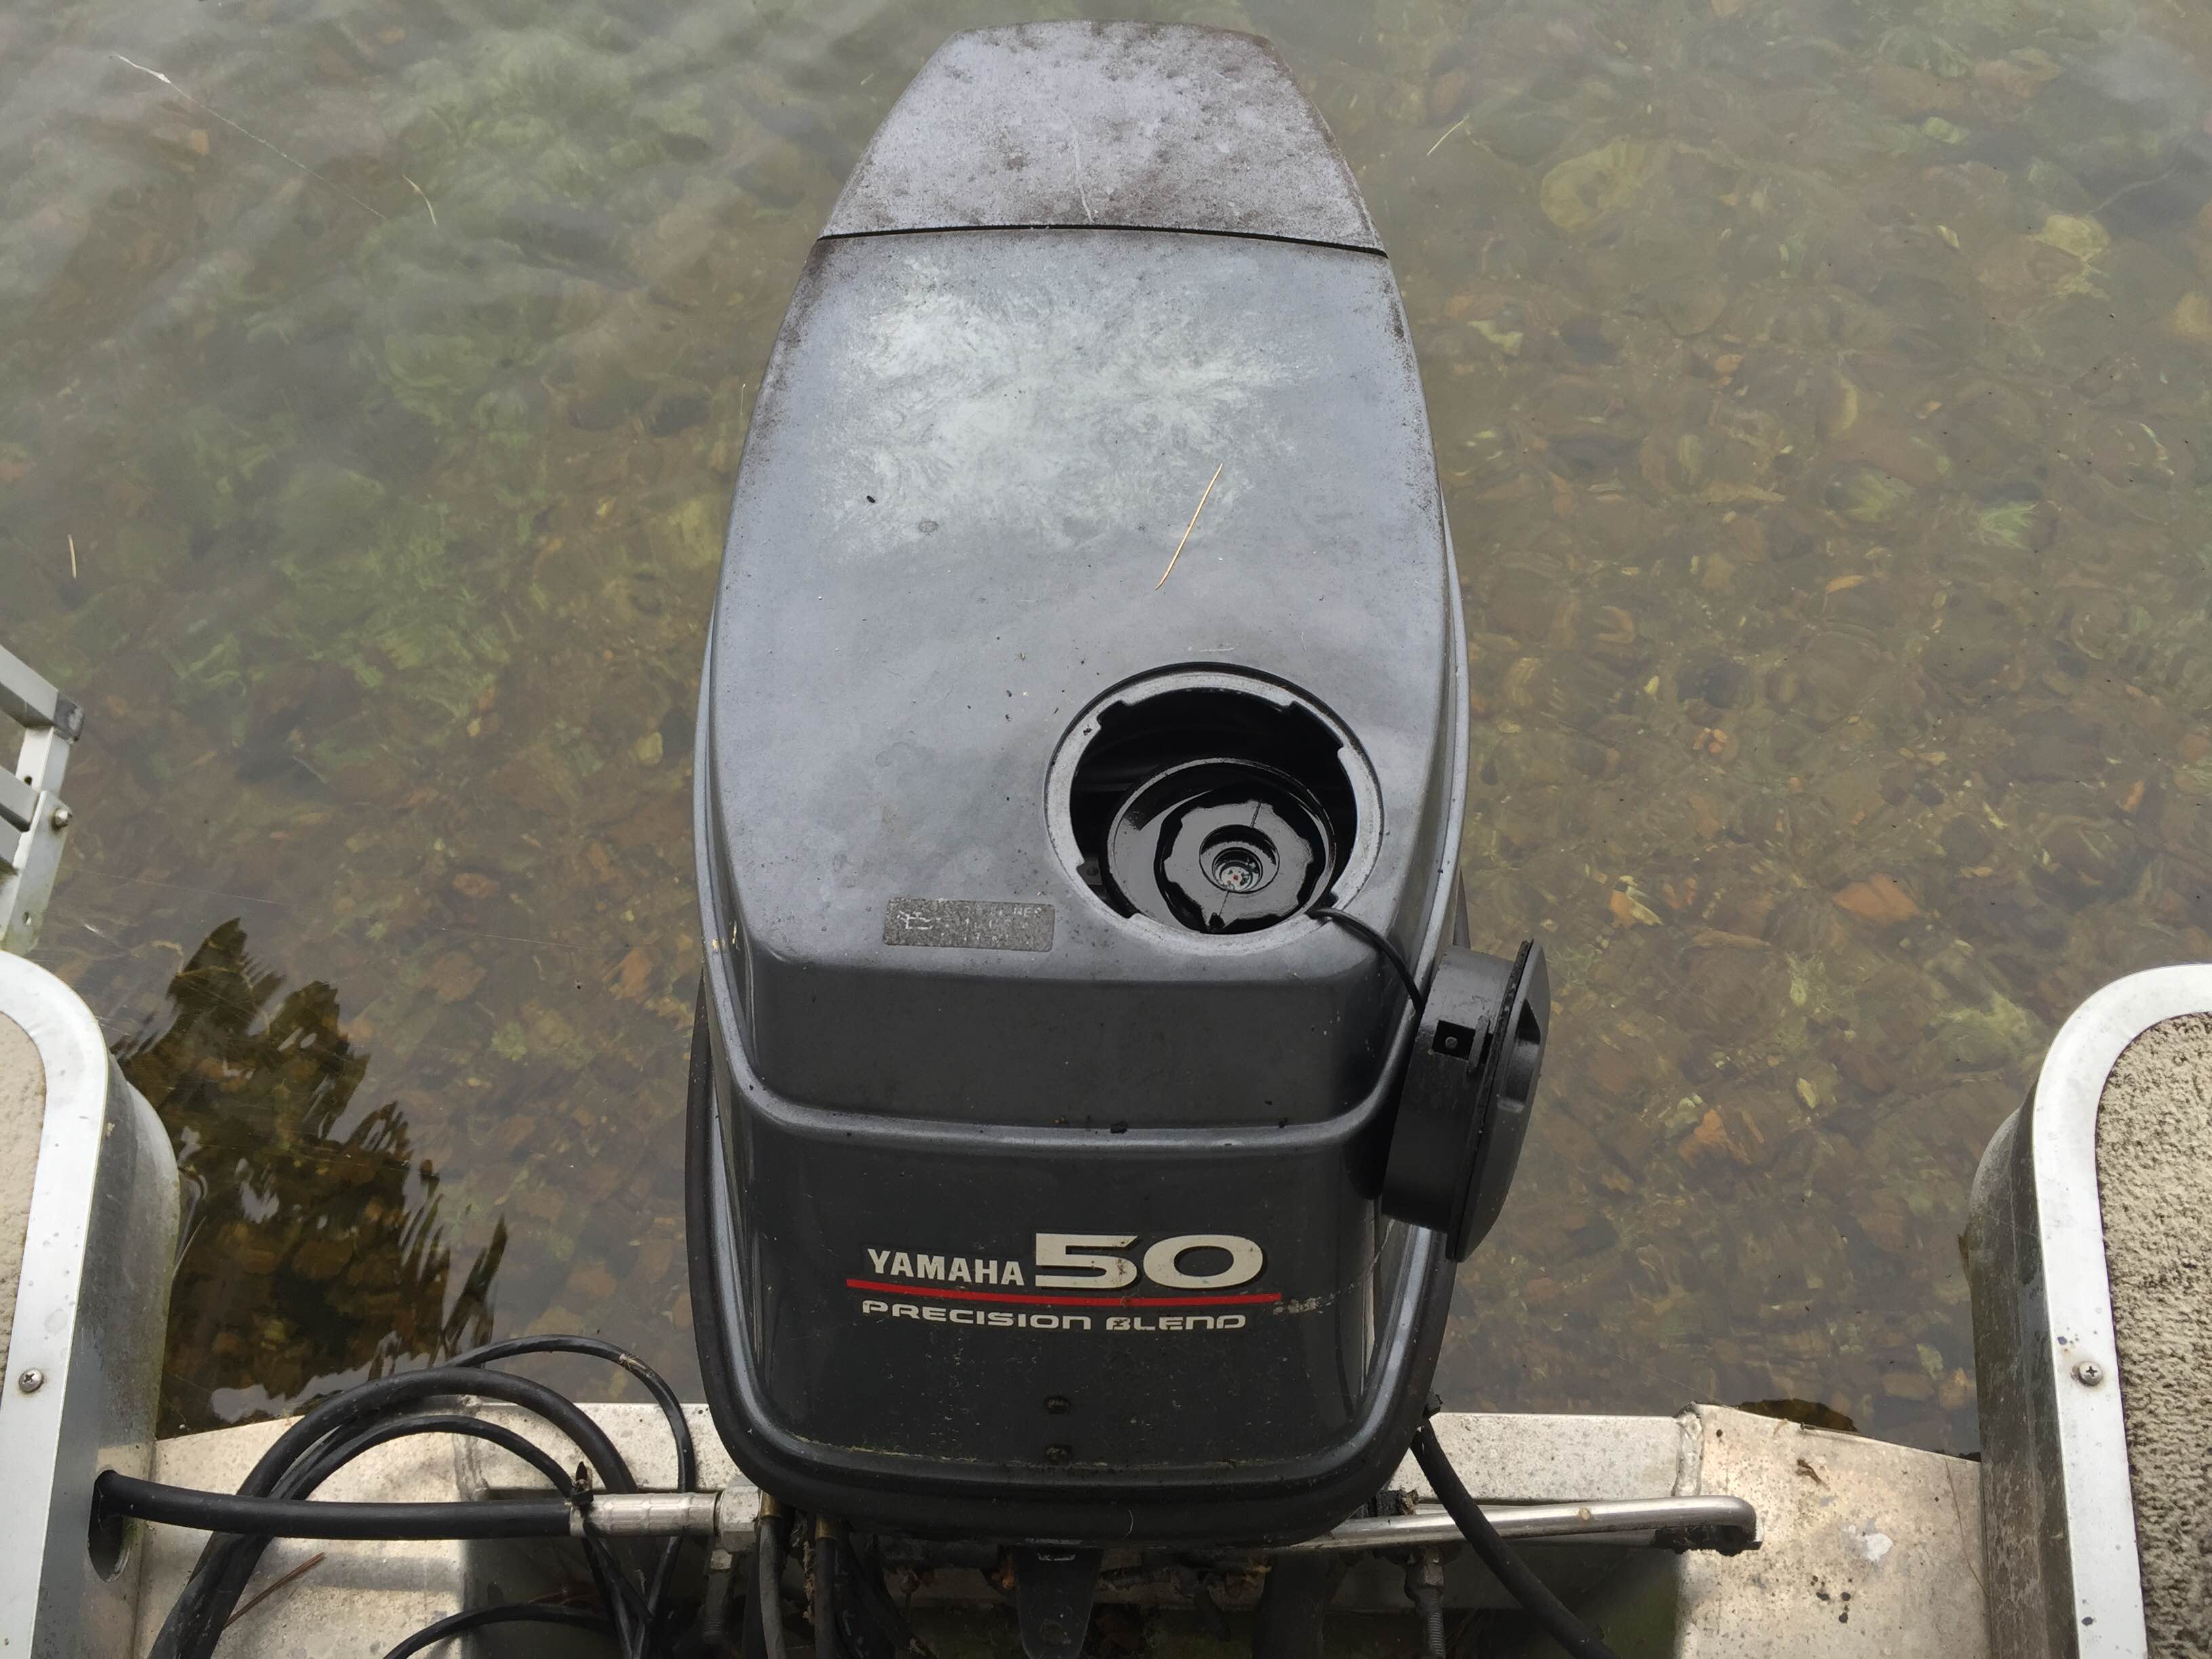
The Buzz is 24′ long, can seat a whole bunch of people, comes with an AM/FM stereo system (with USB and stereo minijack inputs as well), a cocktail table, a bimini top for shade, a cover for when it is in storage, a 50 HP engine, an anchor and a swim ladder.
SUMMER 2020: Do not try to use the radio on the Buzz. The electrical system is wonky and needs to be checked out
Guests are highly encouraged to PRACTICE docking The Buzz. It is much bigger than the Herbie and is very much a “pahty bahge.” (emphasis on the “bahge” part). Please use the dock bumpers when he is tied up at the back deck or the dock on shore. Please treat him with care and love.
The Buzz has a canopy. Be sure to use the nylon stays (with clips) to hold it in place when in use (located under the seats). In the event of storms please close the canopy and wrap it in its zippered cover (see below). Be careful of the light on the top….

A copy of The Buzz’ owners’ manual as well as a manual about his 50 hp Yamaha engine can be found with the other owners manuals in the bookshelf on Crescent.
I
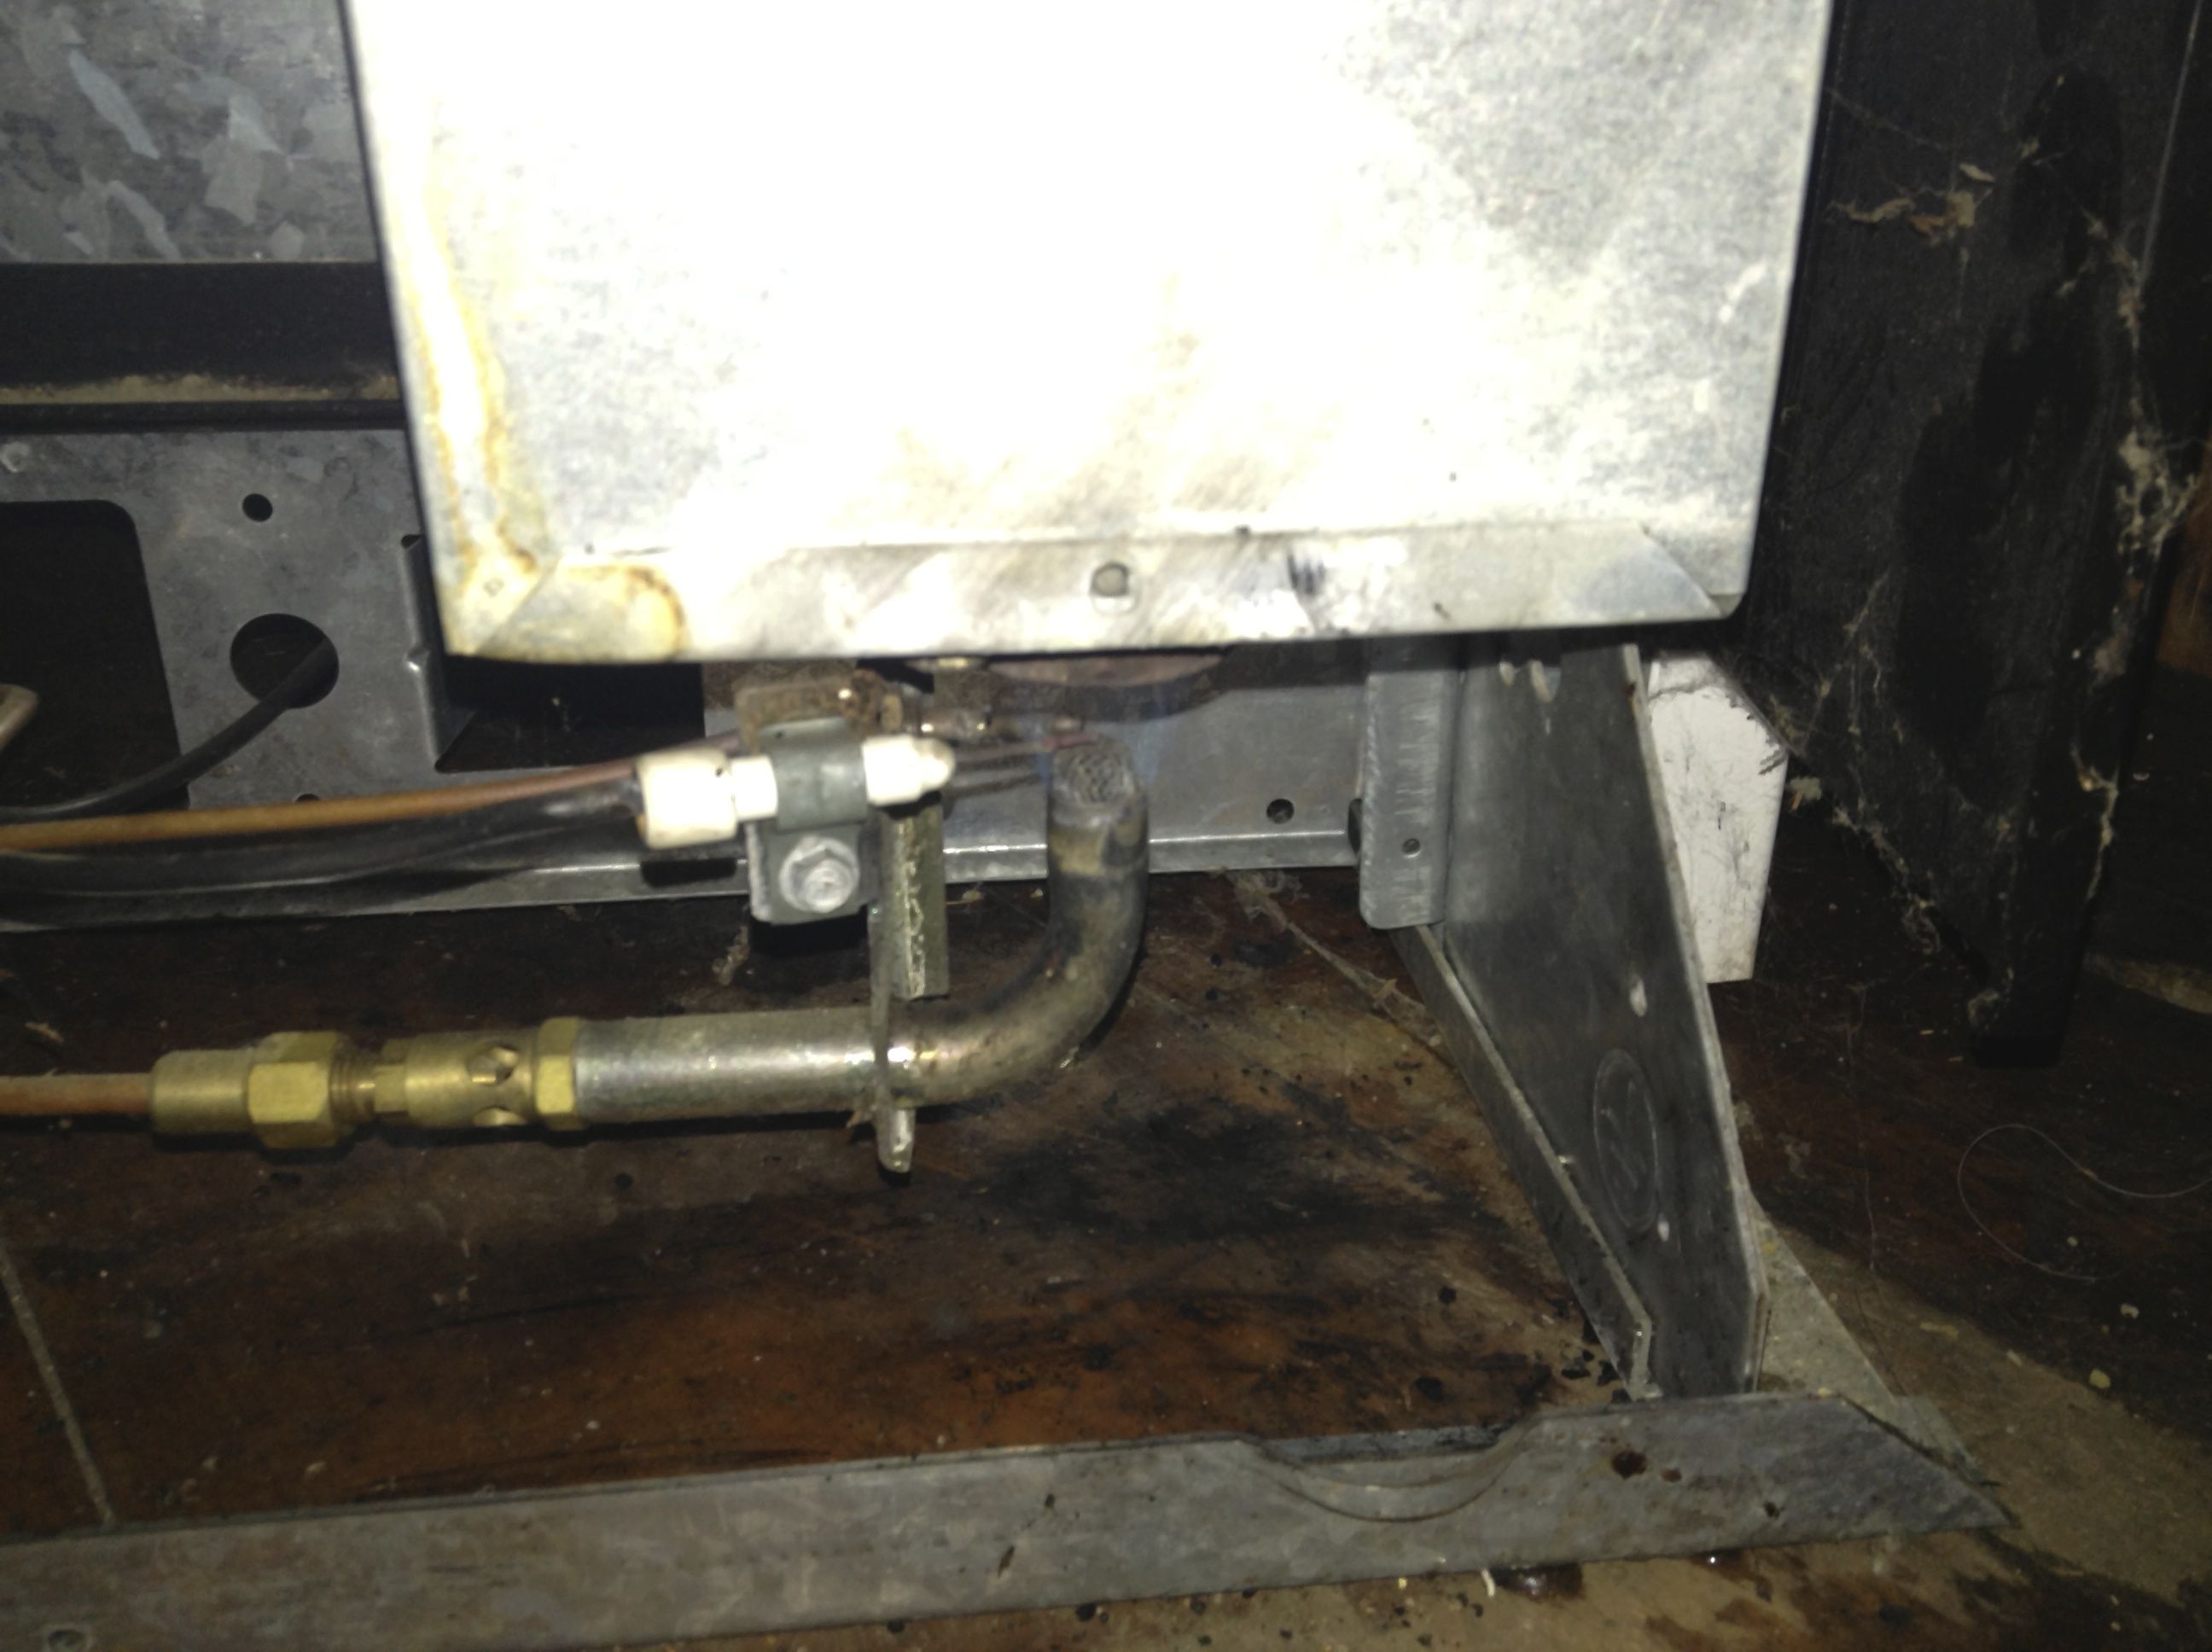
4. HOW TO LIGHT THE REFRIGERATOR
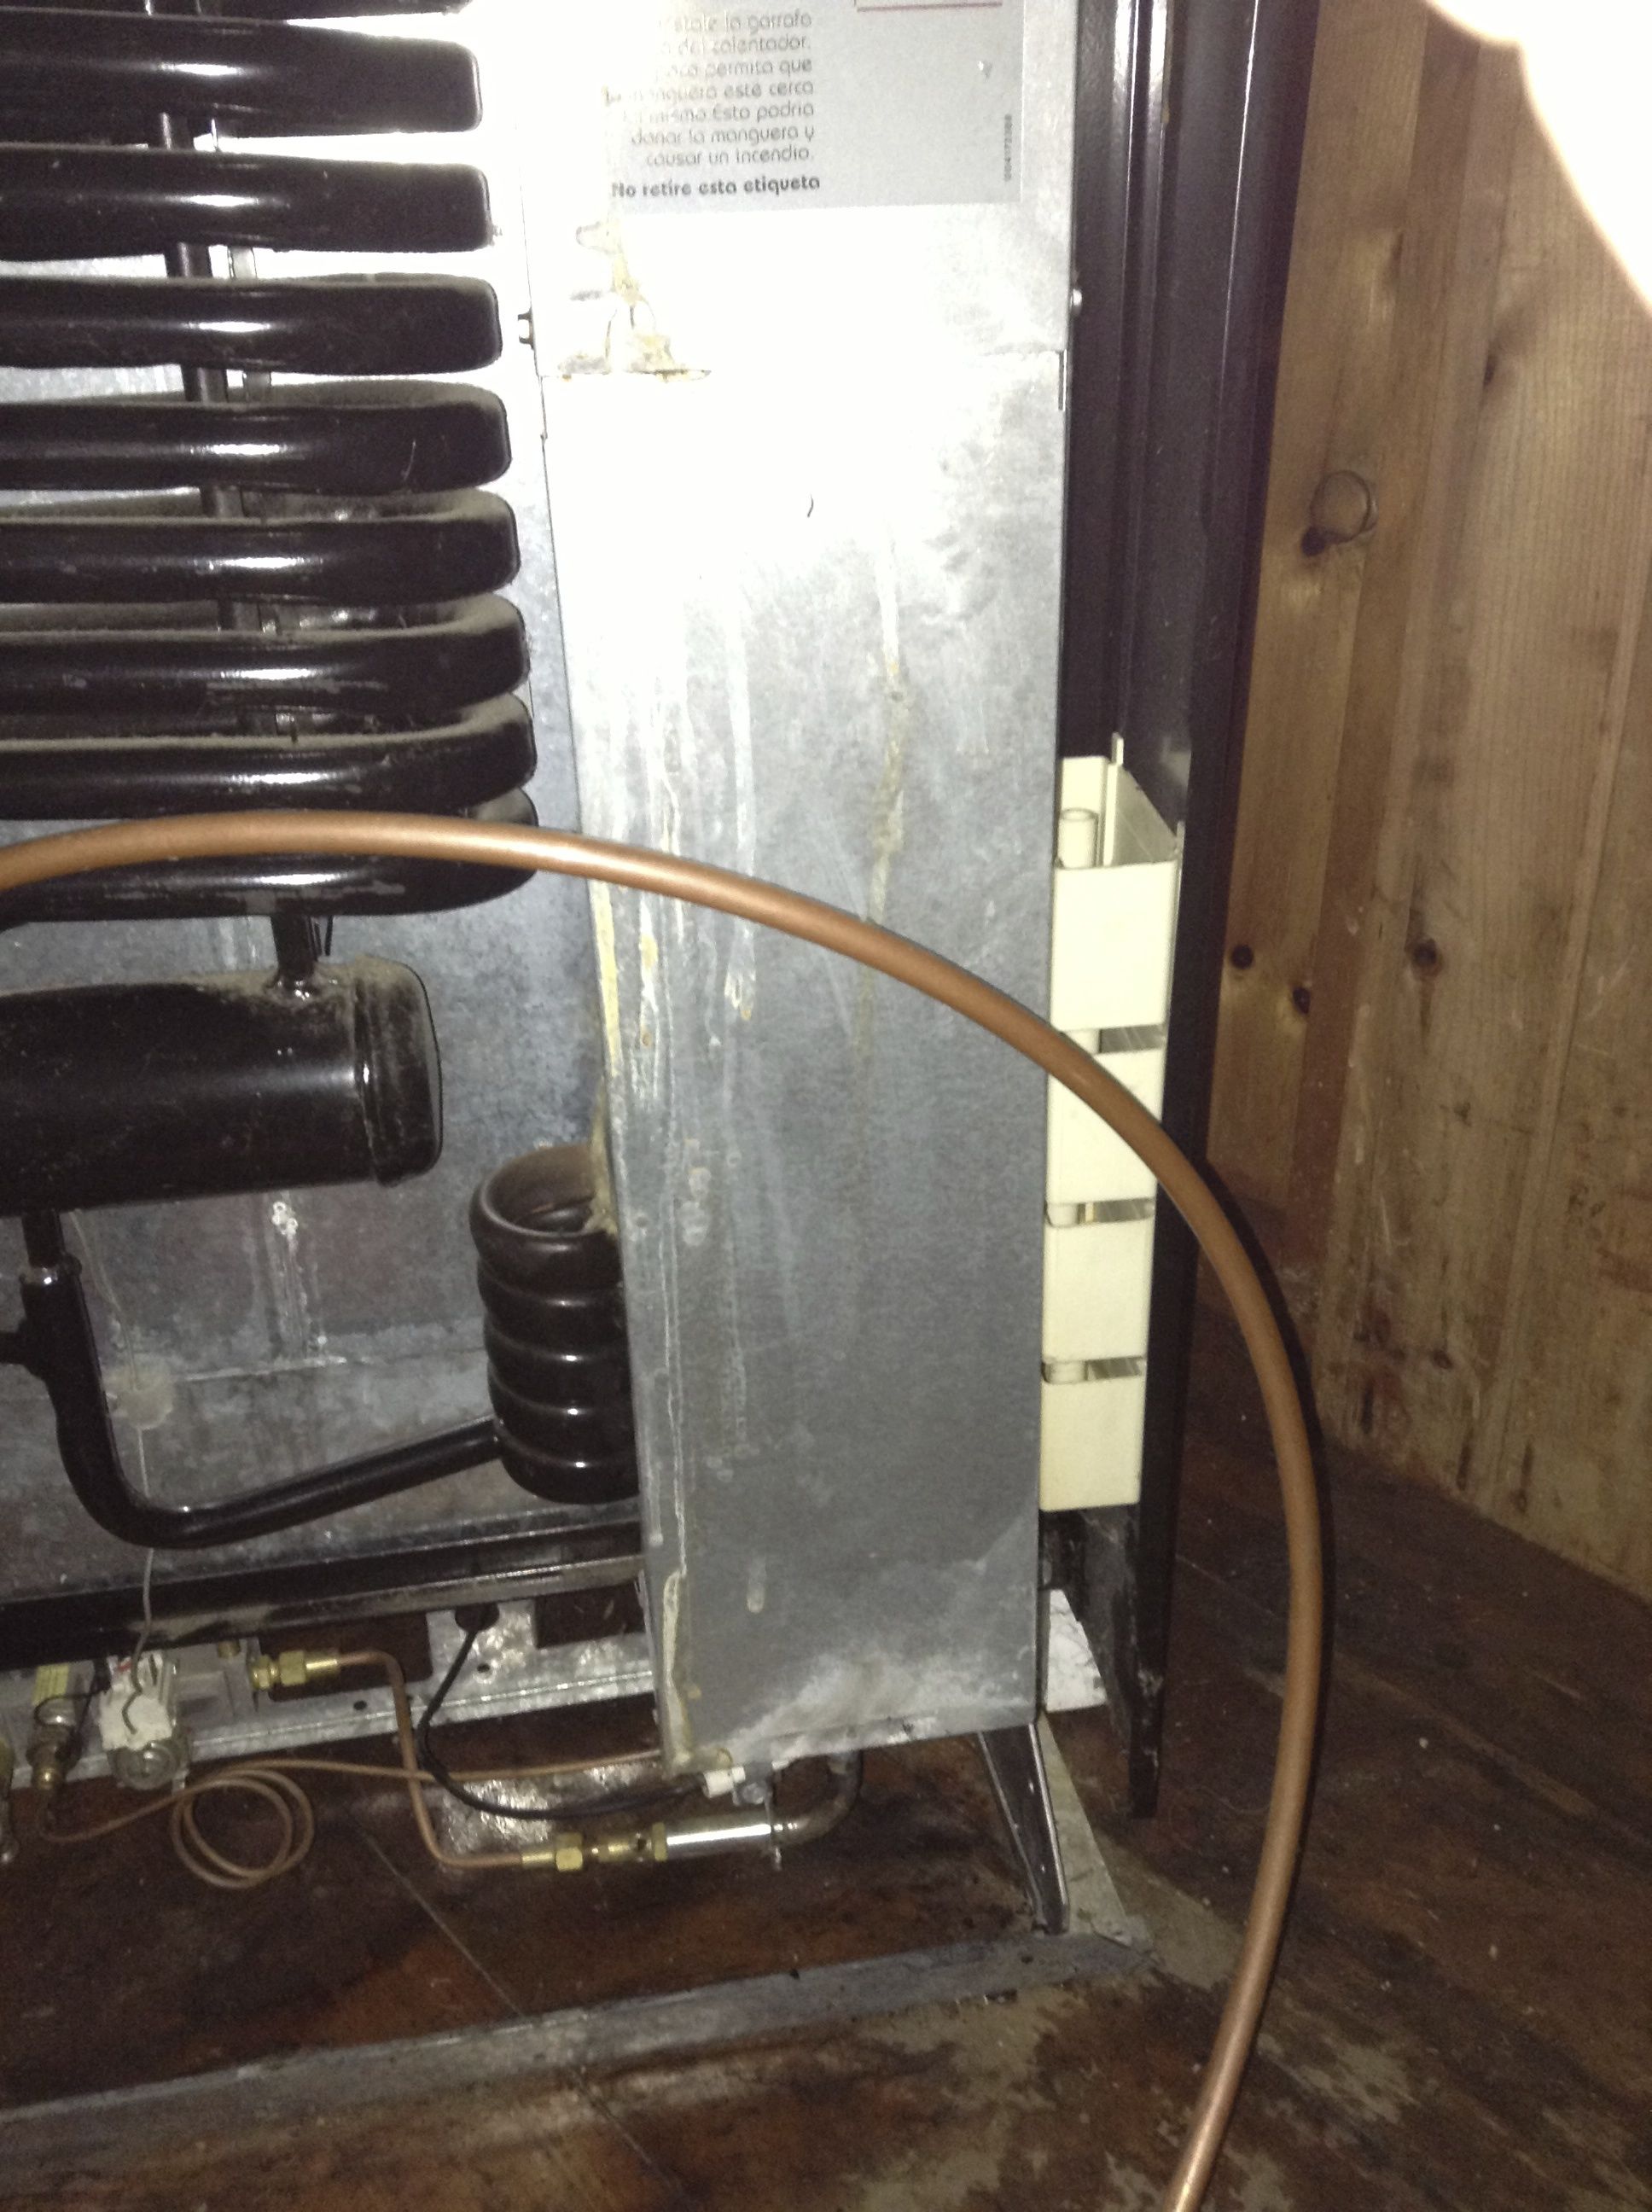
Part One: When opening for the season, you need to turn the gas lines on. There are the two places to do this, and both are behind the fridge. First pull the fridge away from the wall…

These are the two valves you need to turn on (see below). The first one is on a flexible piece of copper tubing. The other is at the base of the fridge. In both of these pictures they are turned to OFF.

This is the line that is connected to the base of the fridge

This is the main line
Once that is done, you can now try to light the fridge.
Part Two: In which the fridge goes out (runs out of propane, etc), and the ice cubes are melting
(Text by Jim) Get down on your belly. Tilt open (from top to bottom I believe) the bottom rectangular door deal and examine the obscure instructions. As I recall, one turns a knob to a start setting, depresses and holds another knob for something between 5 seconds and eternity, and with your third hand clicks the ignitor button while you attempt to look through a plastic lens on the lower left of this panel where the Brazilian developers claim you will be able to see a bluish light if you have successfully ignited the fridge. I think that I saw that light one time, but it was probably just the beer. Had I mentioned when to begin drinking beer in this inflammatory process? It is actually optional in all other cases except it is mandatory before torching the bon fire. (see John about the bonfire)
So how does one know that the fridge is working? If you have ice cubes tomorrow, its working. Actually the best test is to hold your hand above the exhaust pipe at the back left of the refrigerator. If you can feel heat coming out, you did it. Turn the panel knob to some level of cold setting and close the door. This setting piece becomes an art. It is possible to turn the entire unit into a freezer, if you have little food and you set the cold to real cold. Experimentation is in order and there is, or used to be, a thermometer.
Cleaning out the “Clean out panel”:
Sometimes stuff gets into the chimney and causes the flame to burn poorly or not stay lit. We recc’d that you clean out the back of the fridge if you notice problems with the fridge staying lit. Here is how:
Pull the fridge out from the wall. The back will look like this:
I have marked the area that needs to be cleaned out here:
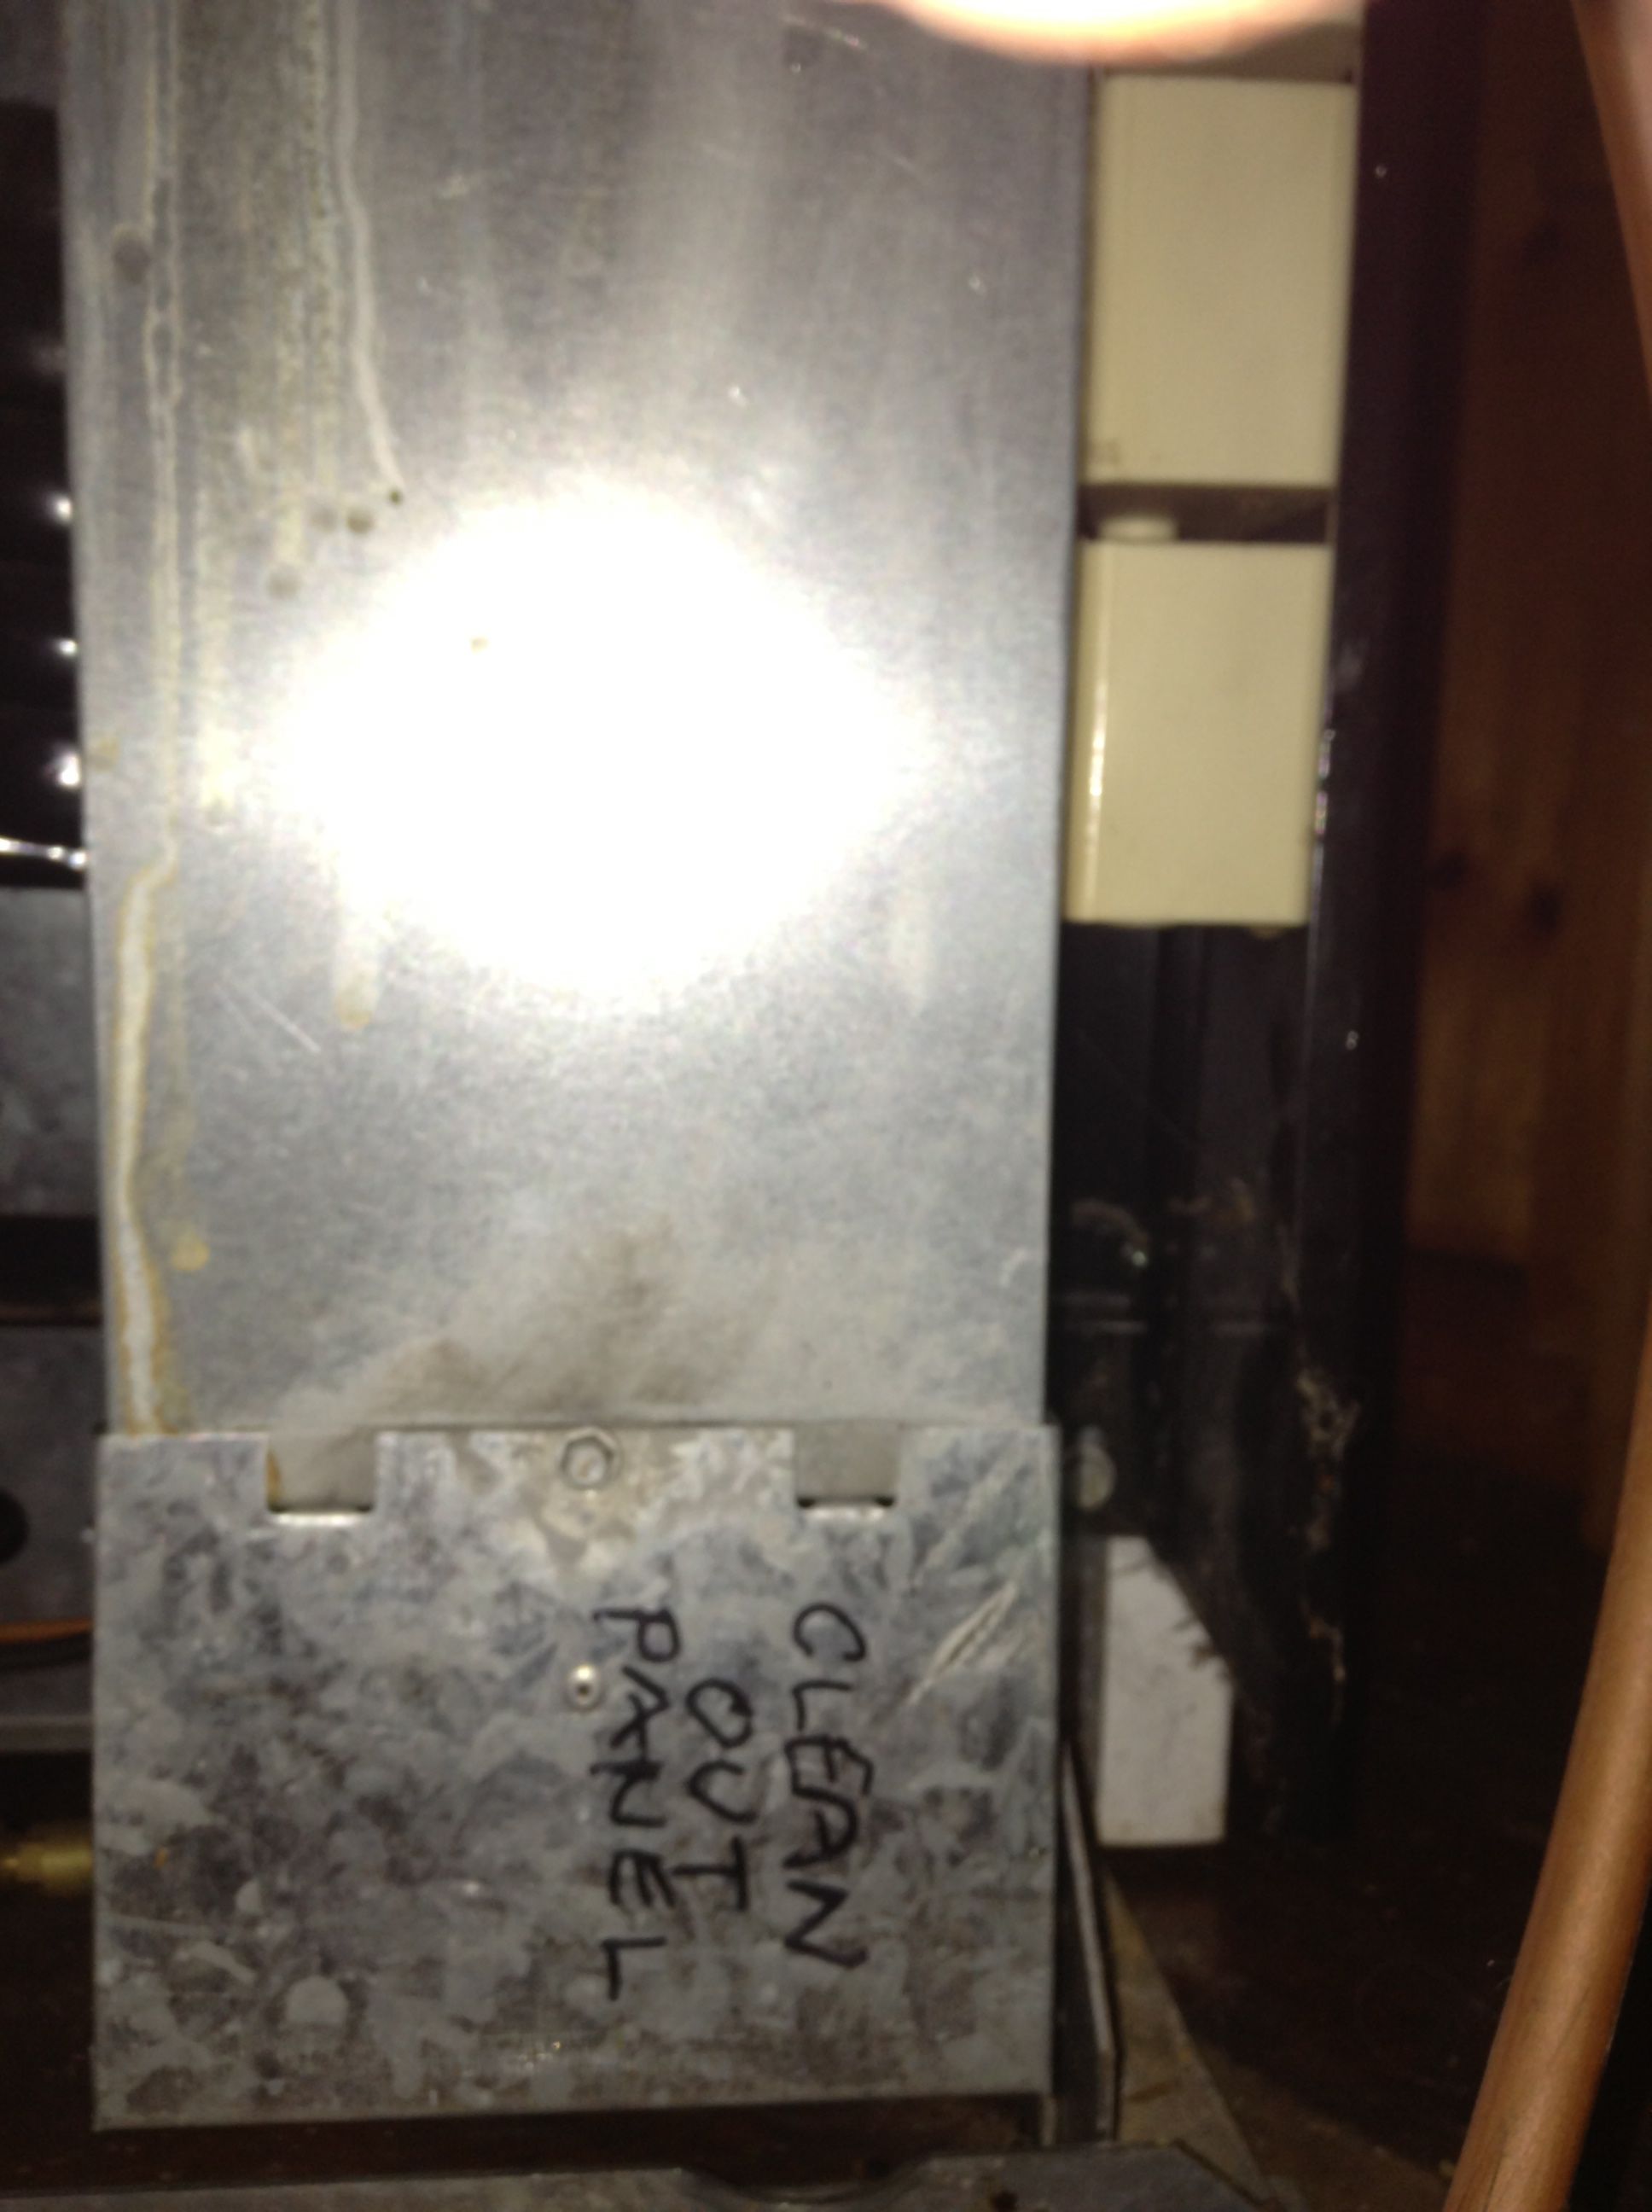
Open it up and remove any cinders, ashes, squirrel treasures, toasted spiders etc. Relight the fridge while you have the back off so you can see the flame (below)
5. HOW TO LIGHT THE PROPANE LAMPS

For the lights in the back bedrooms, turn the metal handle up or down to turn of the propane. Again, use the clicker to light the mantle.
It is very important that you do NOT touch the mantle. It is very fragile.
NEVER leave lamps burning if you leave the island, or if you plan to be out of the main house for an extended period of time.
As of the summer of 2011, Crescent Island was gifted an Envirolet Toilet. Unlike the former composting toilet, the Envirolet does NOT have to be emptied during the season. (Screams of joy erupt from our renters and family members). The potty is reported to be so efficient that we will only have to empty it once a year…and at the time of the island closing in the fall.
This has more or less been the case with the new(er) potty.
A Dual Fan system was installed in the summer of 2014. The fans run off of a marine battery. It has two speeds: on and on faster. There is no off speed, which means that battery will run the fan for about a week and then need to be recharged
We now have a trickle charger that can be plugged into the generator and fully recharge the marine batteries (w/o overcharging them). Re-charging should take 1-2 hours depending upon how tired the batteries may be.
The Envirolet is meant to be used by 4 people on a regular basis.
General Operation Instructions:
1) On the right side of the toilet seat (as you look at the potty here) there is a lever. This lever controls a paddle that covers the waste area below.
2) PLEASE DO NOT PUT TOILET PAPER IN THE ENVIROLET OR THE BIOLET: Toilet Paper slows down the composting process. TP should go in the white waste can w/lid next to the unit.
3) Do not add additional water to the Envirolet. Composting is a process that requires air circulation and drying, not additional water and sogginess.
4) Add 1/4 cup (scoop provided) per person per day of “daily mix” in the white bucket at the end of each day. Please rake after adding mix. Please do not add additional mix as this slows down composting.
5) RAKE RAKE RAKE: Please rake or sift the potty at least three times a day to allow the contents to settle evenly. Use the top metal bar right under the seat (see above) and pull the tray forward and then push it backwards.
6) Please use Simple Green (a bottle should be on the shelf) to clean the outside of the toilet. Do not use harsh chemicals or scouring pads.
The potty is on a bit of a throne to improve the gravity flow of the accumulated fluid (it flows to the wastewater garden we created). I also added was a T-valve to improve the flow as well. Enjoy the view out of the window!

The “throne” with added T-valve for better drainage
For more thorough information about the Envirolet, please click here. For the end of the season potty cleaning, click here:
In the summer of 2015 we installed a second composting toilet in the structure formerly known as the Greenhouse. (Hooray) It also can support 4 people. What is different about this model from the Envirolet is that it allows the users to empty the bins when full and replace with a spare bin. The spare bin (and handy cover) is located outside of the Greenhouse.
There is a marine battery inside the Greenhouse to run the vent fan. Please use the trickle charger in the shed to recharge the battery when it is run down.
As with the Evirolet, please do not put toilet paper into the potty. Use the waste receptacle in the Greenhouse. Add a scoop of composting mix (in bag next to the potty) after each bowel movement. Never add water!
To empty the bin, remove the top of the Biolet (where the potty seat is), locate the metal handle for the bin and remove the bin. If drippy, place the cover on it and let it sit next to the Greenhouse (there is a gravel bed there for this purpose). Empty the bin into the back square composting bin. Spray with the microbe mix (a green sptray bottle located in the Envirolet) and cover.
To start a new bin, add a layer of composting mix (about 2 inches) and put into the potty. Gently fold the handle down (towards the back of the unit) and replace the seat. Done!
7. HOW TO LIGHT THE COOKING STOVE:
There are two pilots in the stove/oven that need to be lit to make the appliance functional.
The stove burner pilots are underneath the white enamel surface of the cooktop. Lift up the white enamel, turn on the gas and light a couple of the burners with the “clicker” we use for lighting the propane lights. The pilot lights are located between the front and back burners on each side.

Looking under the top of the range surface
The oven pilot is in the back of the oven. To access the oven pilot light pull out the broiler drawer and turn the oven on. The pilot is in the middle and at the back of the broiler area.
When leaving the island for extended periods of time, please use the GAS CUTOFF SWITCH to the stove/oven and turn the propane flow off to the appliance.

The cut off valve
8. HOW TO LIGHT THE PROPANE HEATER:
On cold, rainy days, the propane heater is wonderful. But sometimes getting it to light is a bit of a chore.
The gas line should always be left open from the tank to the heater each season. This prevents the accumulation of air in the gas line (which is what makes it hard to ignite)

The line pictured here is in the open position.
To ignite the heater, open the panel on the left side (facing you) of the appliance. Turn the arrow on the round dial to “Pilot” and push the dial in for several minutes. Keeping it depressed gets the air out of the line. Sometimes this may take up to 15 minutes, so get a beer or something to read and just be patient. Keep pressing.

the panel on the side of the heater
NEW FOR 2015: Pro Tip: Check the manual & locate the thermacoupler (it is to the far right of the pilot light in the logs, and to the right of the white thing that makes sparks), If you heat the thermacoupler with the lighter it makes the oven “ask” for more gas. Heat the thermacoupler while pushing in the knob. After a few minutes, turn the knob while pushing until you hear a “whoosh.” The stove should light soon after that.
Once the pilot light catches, you can press and turn the knob to the level of heat you require. The heater has a thermostat and will automatically turn off and on the flames to maintain the desired temperature.
Finish your beer.
Sometimes the bbq propane tanks work well with the heater, and often the stove “catches” much faster with these smaller tanks. Good to know on those cold rainy days. Not that those happen or anything.
Do not add paper or sticks to the fireplace. Those logs are fake for a reason.
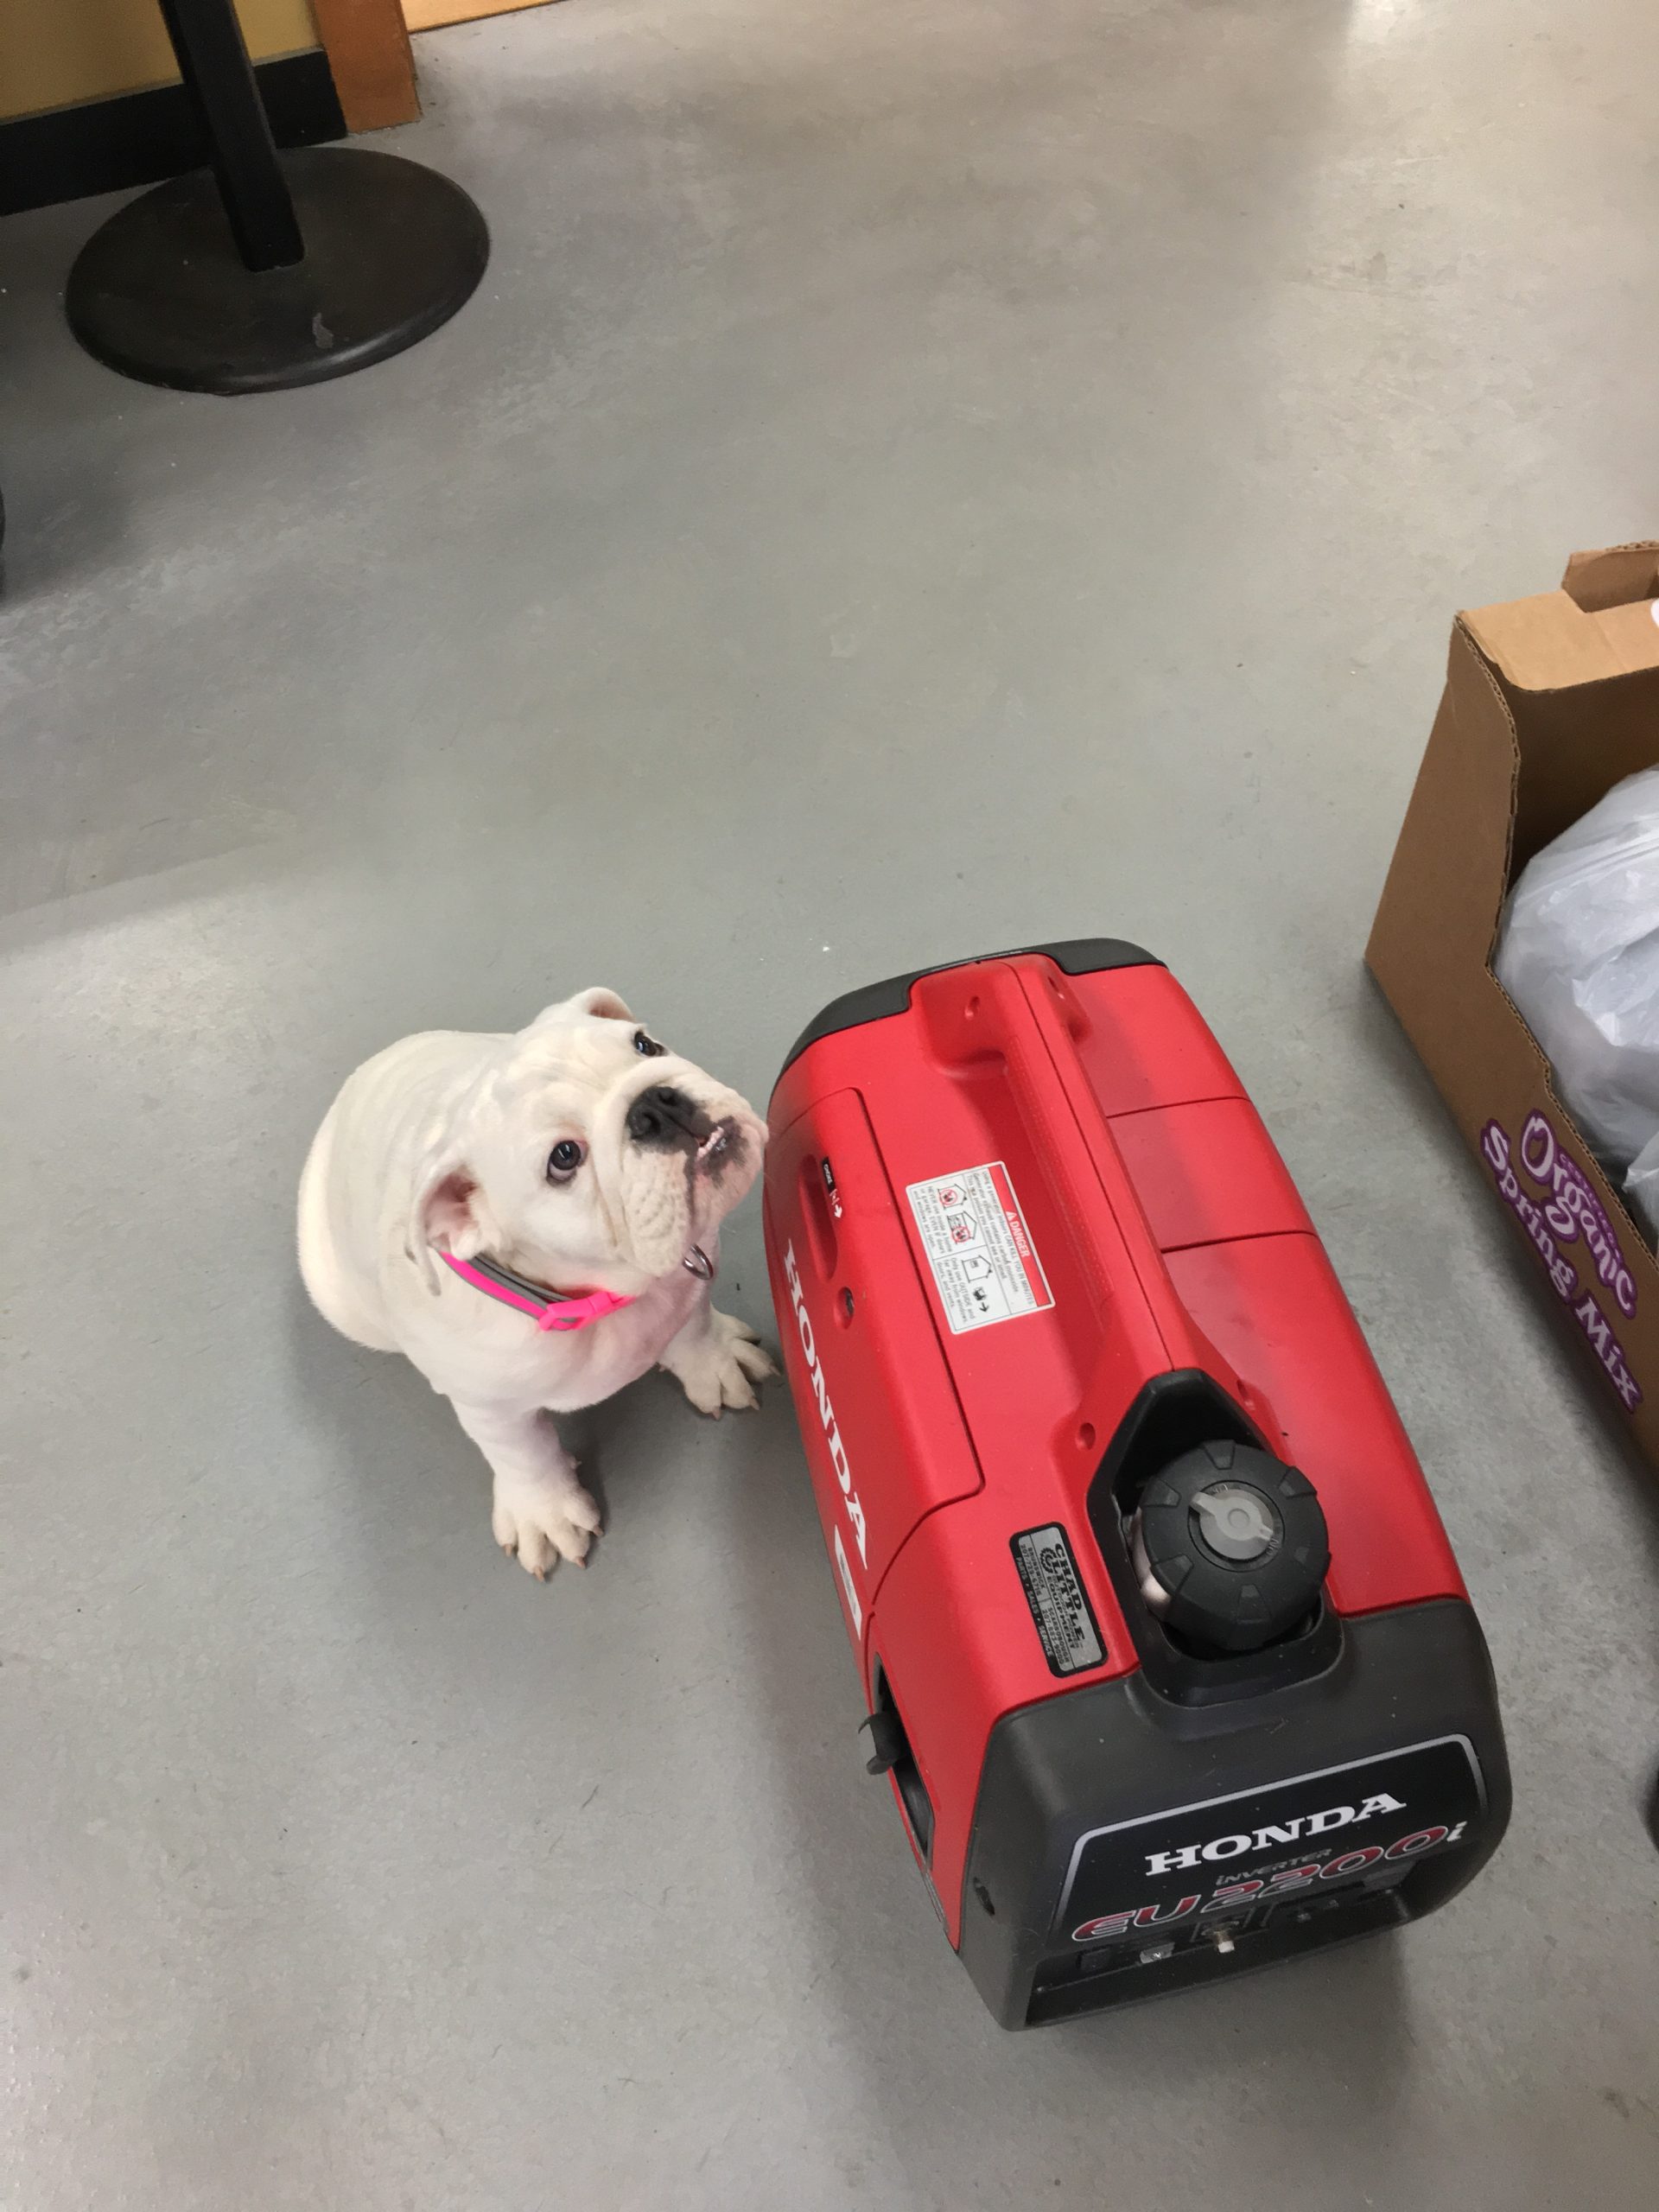
9. HOW TO RUN THE GENERATOR: UPDATED SUMMER 2020
In 2018 we acquired a new Honda generator. It is super quiet and on a full tank of gas runs for about 5 hours. Please use regular gas. PLEASE check the oil after every other use. It takes 10W-30 engine oil (should be in the tool shed) Full instructions are with the other owners manuals on the bookshelf in the main house. Bulldog puppy, sadly, not included.
We added a ChargeTech Portable Power system for people to keep small devices juiced up.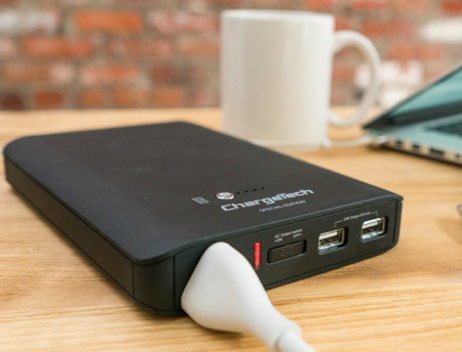
10. SHEETS, PILLOWS, TOWELS, FOOD and OTHER PERISHABLES:
We encourage our renters to bring their own sheets, pillows, and towels during their stay. This makes for less trips to laundromat which means more island time. There are extra sets of sheets and towels available in marked bins on the lower level of the Main House to be used in emergencies. If you use them please clean them and replace them, or buy a new set, prior to your departure.
We have TWO queen sized beds, and the rest of the beds are twin beds. The twin beds in the West Cabin can be put together to make a king sized bed. King sized sheets and bedding as well as the necessary pieces and parts of this operation are stored in a bin in the West Cabin. Again, if you use our bedding, we ask you to wash them before you depart.
Please take any perishable food with you when you depart as well as anything in an open(ed) container. This includes all condiments and sauces in the refrigerator. Be sure to check the drawer in the fridge. Sometimes it is amazing what we find at the end of the season! 🙂
The kitchen has all of the staples you might need (flour, sugar, coffee, tea, baking stuff as well as cleaning supplies, trash bags and paper towels ). If you use it, please replace it.
11. THE GRAY DUMP AND RECYCLING:
The Gray Dump is open Wednesday through Sunday. It is closed Mondays and Tuesdays and holidays. The current hours are listed on the bulletin board. Please bring the Gray dump pass with you (it is on the bulletin board). If you forget and someone asks you for ID please tell them Crescent Island on Little Sebago. You must bring items to recycle in order to use the dump.
NOTE: Crescent Island has a CLYNK account for redeemable bottles and cans at Hannaford’s Supermarkets. Green CLYNK bags with tags are on the front porch. Simply fill the bags with your empties and take the CLYNK card with you to any Hannaford’s. You will need the CLYNK card to access the drop chute. Just bag them, closeup the bag, and slide them in the chute.
We will use our CLYNK fund to buy yet another swim raft (the yellow one was murdered by an deranged jetskiier in the summer of 2018, after only being a float for 6 weeks)
12. GENERAL ISLAND RULES (aka Do’s and Please Don’ts): UPDATED 2020
~Crescent Island is a small (less than one acre) and our bathroom facilities are very limited. Each potty can accommodate 3-4 people on a regular basis.
~Renters are expected to replenish the propane and gasoline (for boats) they have consumed and leave all tanks full for the next occupant.
~Parking on the shore is also limited. Crescent Islanders should not plan on parking more than 4 cars at any one time. Please share the spaces with the Ridgewood guests.
~Crescent Island shares the boathouse on the shore with Ridgewood. The LEFT side of the shed belongs to Crescent. Keep it tidy, please. Replenish what you use.
~NO open fires or fire pits on the island. Period.
~Dogs are welcome on Crescent but we ask that you please pooper scoop and throw away (in the garbage) any animal waste. Dogs are welcome up on the couch (hey, they need a vacation too). Please do wash the couch coverings before you depart if your pup has been couch surfing.
~Please do not rake the pine needles/pine straw. Do not cut anything down w/o inquiring first.
~If there is a gap between renters (more than two days) please close all windows and shutters and lock all buildings. Bring in deck chairs. Please turn off the propane to the stove/oven (see above). Leave the aluminum boat on Crescent (put the gas can in the shed) and leave The Buzz on shore. The bimini top should be folded down flat, the boat cover should be put on and The Buzz should be chained to the dock.
~If you use the Coleman propane shower please be sure to replenish any propane used. The shower should be packed up and put away between visitors.
13. Steps for mid season closing (or when there is gap of more than one day between visitors):
~check the propane levels. Make sure there are AT LEAST two full tanks hooked up and either in service or ready to be put into service, and at least one spare full tank stored behind the shed.
~remove any perishables from the refrigerator and take them with you. Ask yourself: If the propane ran out and the refrigerator got warm, would it still be edible? If the answer is no, please take it with you.
~replenish any staples you have used (coffee, tea, flour, oil, beer, water, etc…)
~close the shutters on the cabins and in the main house
~latch all of the windows shut with (the hooks are on the inside)
~take all trash with you
~take all recyclables to Clynk in Hannafords (money goes to the Crescent Island fund)
~take recyclables to the Gray Dump
~empty any compost stuff into the compost bins
~sweep all cabins
~take your sheets and towels and pillow with you
~sweep the main house, wipe down all counters and surfaces, wipe down fridge, make sure the couch is sand and crumb free.
~depending upon usage levels, it might be time to switch out the Biolet bins
~leave Biolet and Envirolet doors closed but unlocked
~do some extra raking of the Enviolet with the handles
~turn off propane to the stove (see info above about the stove)
~lock the house, cabins and toolshed (be sure the back door of the house is latched from the inside)
~chain the aluminum boat to the front dock, put gas + toolkit in toolshed
~chain the Buzz to the shore dock (making sure canopy is down flat) Put on boat cover.
~leave a note for the next visitor about propane levels and anything else they might need
If you have a question: Please email us at crescentislandmaine AT gmail.com
Pingback: Island Opening 2012 | Crescent Island